

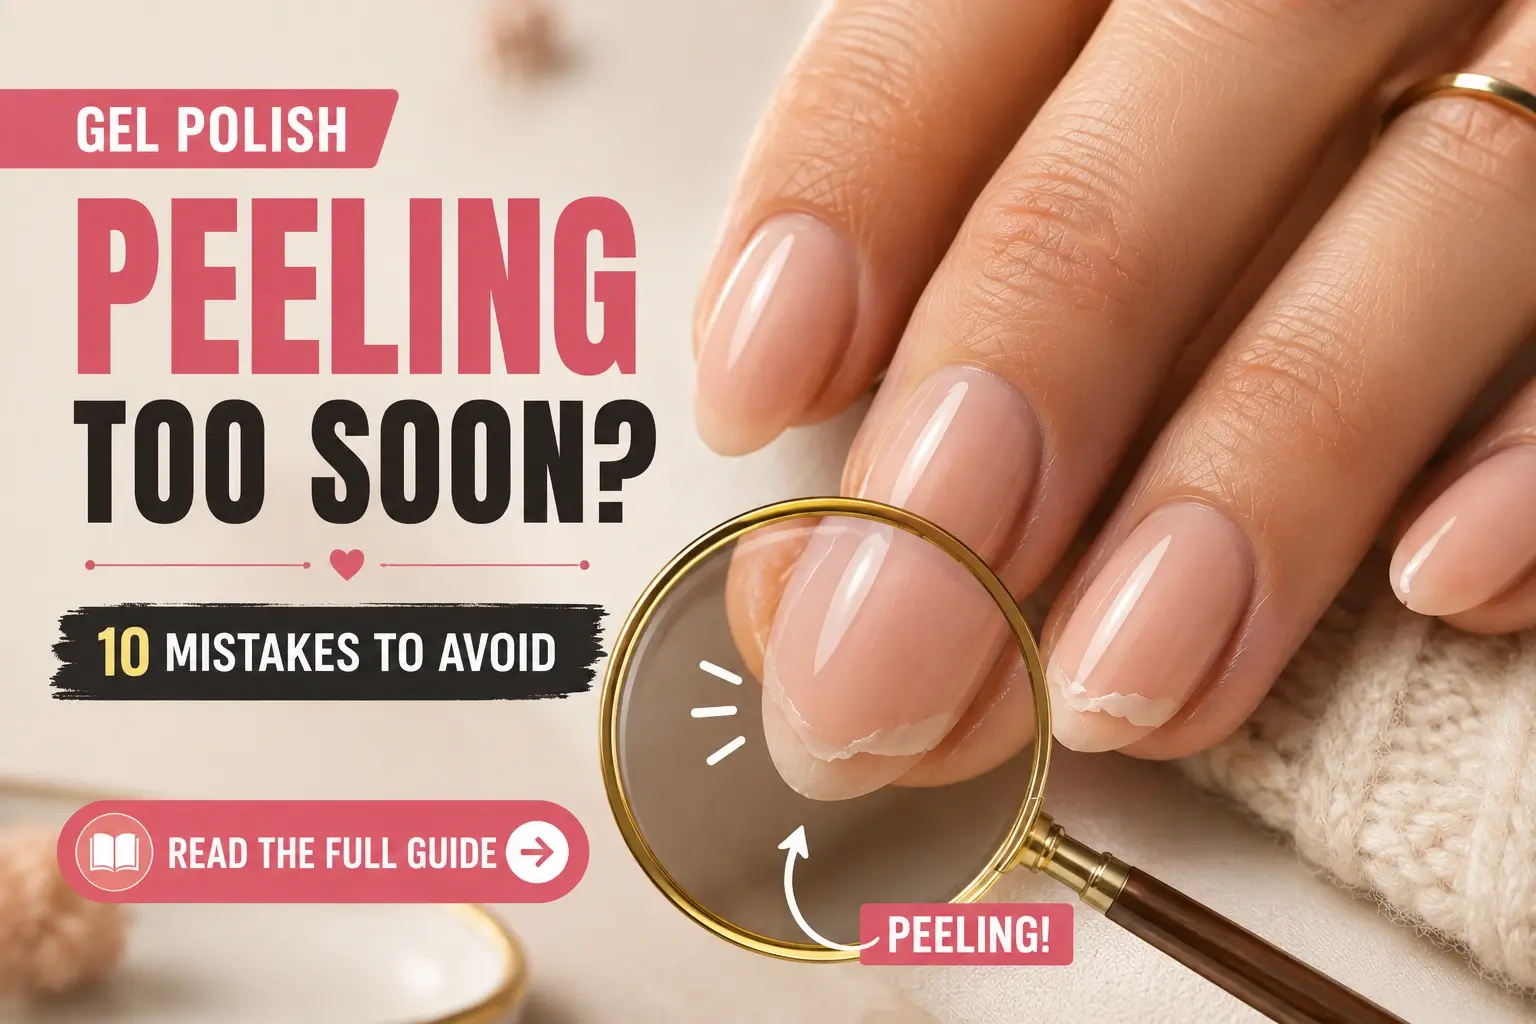
If your gel polish starts peeling, lifting, or chipping only a few days after you apply it, buying another color or a more expensive top coat may not solve the problem.
In many cases, the problem starts before the first coat of color goes on.
A little oil left on the nail, gel touching the skin, coats that are too thick, incomplete curing, or an exposed free edge can all shorten the life of a gel manicure.
The good news is that these problems are usually fixable.
A well-applied gel manicure can commonly wear for around 2–3 weeks, although actual wear time varies with nail growth, the products you use, application technique, and how much everyday stress your nails receive.
This guide walks through the 10 most common mistakes that can cause early peeling, how to troubleshoot the problem you’re seeing, and what to change the next time you do your nails.
Quick answer: To make gel polish last longer, start with clean, properly prepared nails, keep every layer thin, use a lamp and cure time recommended for your specific gel system, keep gel off the surrounding skin, and seal the free edge. If your manicure still fails quickly, use the troubleshooting guide below to identify where the problem is happening.
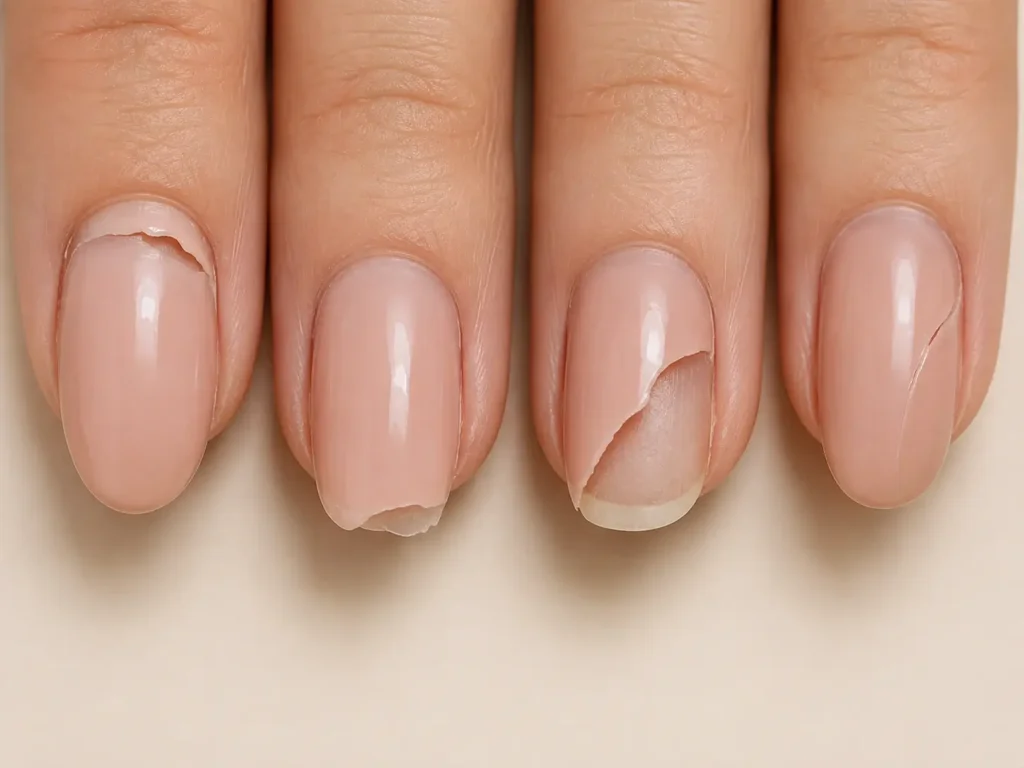
Quick Troubleshooting: Why Is Your Gel Polish Peeling?
Before changing everything at once, look at where and how your gel manicure is failing.
| What you’re seeing | What to check first |
|---|---|
| Peeling within 1–2 days | Nail prep, oil/moisture, skin contact, curing |
| Gel lifting around the cuticle | Product touching skin, prep, application margin |
| Chipping mainly at the tips | Free-edge capping and everyday nail use |
| The whole manicure lifts like a sticker | Adhesion, prep, product compatibility, curing |
| Only one or two nails lift | Nail-specific damage, flexibility, application, or repeated impact |
| Gel becomes brittle or cracks | Product application, curing, nail flexibility, excessive mechanical stress |
| Manicure lasts about a week but not longer | Prep, edge sealing, product compatibility, daily wear |
This approach is more useful than simply assuming that every peeling problem has the same cause.
How Long Should Gel Polish Last?
A properly applied gel manicure commonly lasts about two to three weeks before removal is needed because of growth, wear, or visible lifting.
That doesn’t mean every manicure will automatically last 21 days.
Your result can vary depending on:
- Natural nail condition
- Nail length and shape
- Product formulation
- Base coat and color system
- Lamp compatibility
- Application technique
- How much your hands are exposed to water and chemicals
- How you use your nails during everyday activities
- How quickly your nails grow
If your gel polish consistently starts peeling after only a few days, don’t automatically blame the polish. Start by troubleshooting your prep, application, curing, and edge protection.
10 Gel Polish Mistakes That Cause Early Peeling
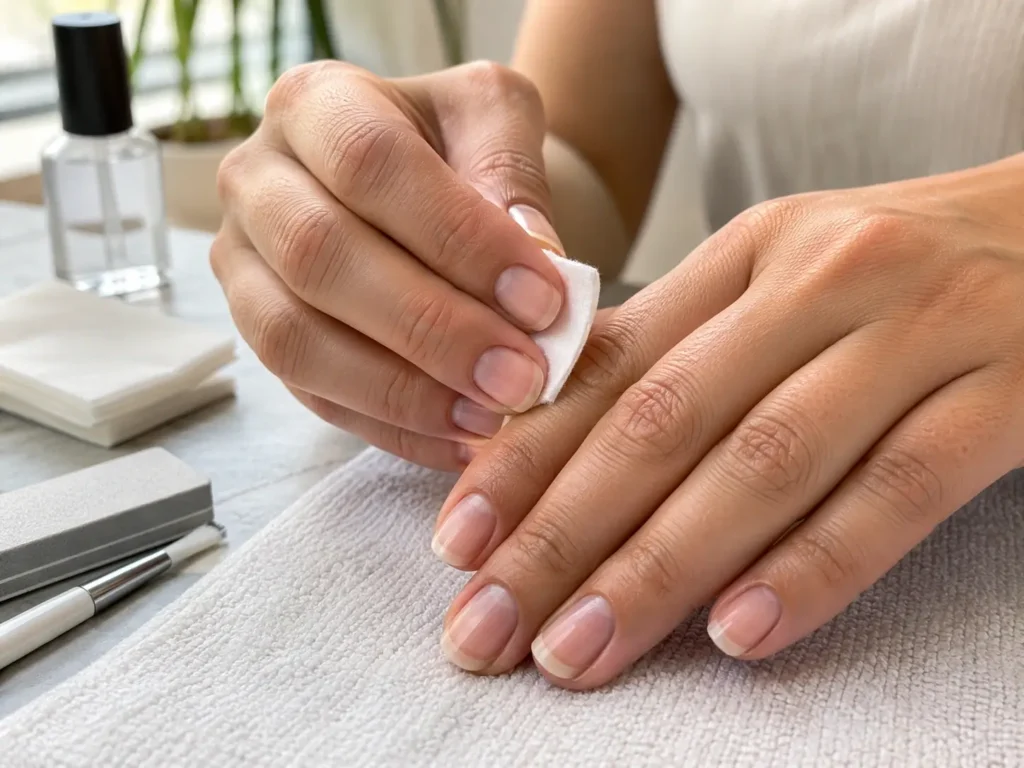
1. Applying Gel Polish to Nails With Oil or Moisture
This is one of the first things to check when gel polish fails unusually quickly.
Natural oils, skincare products, lotion, and residual moisture can interfere with proper adhesion between the prepared nail and the gel system.
Even a manicure that looks perfectly clean can have enough residue to create an adhesion problem.
How to fix it
After shaping and preparing the nails:
- Remove visible dust.
- Follow your gel system’s recommended nail-prep steps.
- Use an appropriate nail cleanser or dehydrating/prep product if your system calls for one.
- Work with a clean, lint-free wipe.
- Avoid applying hand cream or cuticle oil before the manicure.
- Don’t touch the prepared nail plate before applying the next product.
The goal isn’t to aggressively strip or damage the natural nail. It’s to create the clean, appropriate surface required by your product system.
2. Touching the Nail Plate After You Prep It
You finish preparing your nails, reach for your polish, and then accidentally touch the nail.
It seems insignificant, but touching the prepared nail can transfer oil and residue back onto the surface.
How to fix it
Once a nail is prepared, leave the nail plate alone.
If you accidentally touch it, re-clean or re-prep it according to your product manufacturer’s instructions rather than simply applying gel over it.
A useful workflow is:
Prep → apply base → cure → color → cure → color → cure → top coat → cure
Instead of preparing the nails and then taking a long break before starting the application.
3. Applying the Base Coat Too Thick
More product doesn’t automatically mean better adhesion.
A base coat should be applied according to the instructions for that particular product. Applying an unnecessarily thick layer can make proper curing more difficult and may contribute to poor wear.
How to fix it
Apply a thin, even layer rather than trying to build excessive thickness with the base coat.
Before curing, check:
- Is the product pooling near the cuticle?
- Is it flooding the sidewalls?
- Is the layer unnecessarily thick?
- Did you follow the manufacturer’s application instructions?
If you’re using a builder-type or strengthening product, follow that product’s specific instructions rather than treating it like a conventional gel polish base coat.
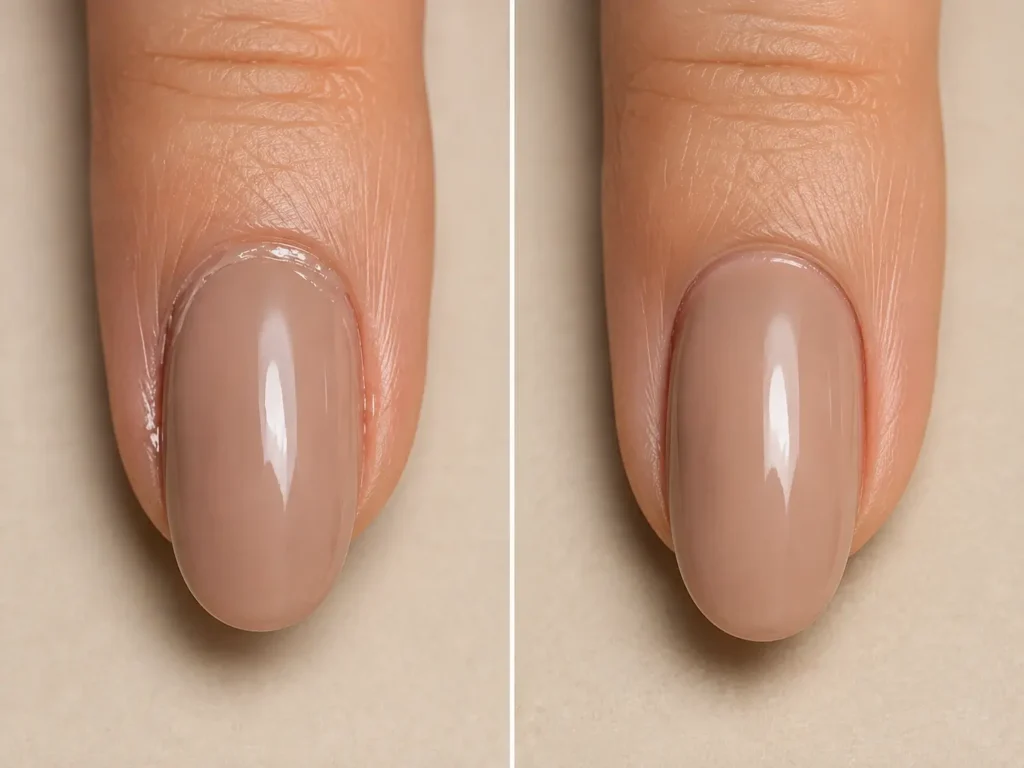
4. Letting Gel Polish Touch the Skin or Cuticles
This is one of the easiest application mistakes to miss.
Gel should be applied to the nail, not the surrounding skin.
When uncured gel touches the skin and is then cured, it can create a weak-looking perimeter and may contribute to lifting as the skin moves.
More importantly, repeated skin exposure to uncured gel products can increase the risk of developing a contact allergy.
How to fix it
Apply the product carefully and leave a small, clean margin around the surrounding skin rather than trying to push the gel directly into the cuticle.
If uncured gel gets onto the skin:
Clean it away before curing.
Don’t rely on curing the product and removing it afterward.
A fine cleanup brush can help with precision, but use products and solvents according to their intended purpose and avoid getting them onto irritated or damaged skin.
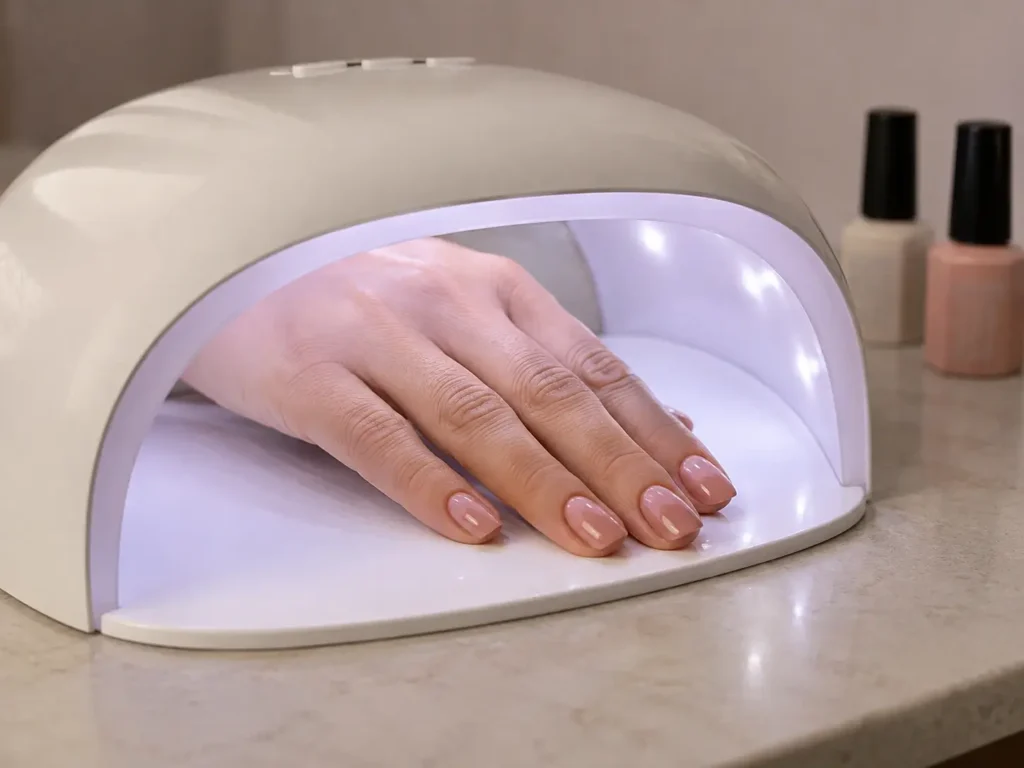
5. Using the Wrong Lamp or Cure Time
A lamp that turns on is not necessarily a lamp that is appropriate for every gel product.
Different gel formulations can have different curing requirements, and lamp compatibility matters.
Simply choosing a lamp because it has a higher wattage does not guarantee that a particular gel will cure correctly.
How to fix it
Check the instructions for your specific gel product.
Look for:
- Recommended lamp type
- Compatible wavelength range, if provided
- Recommended curing time
- Whether the product is intended for LED, UV, or a specific lamp system
- Any manufacturer-specific instructions
Then follow the recommended cure time rather than adding extra time simply because you think “more must be better.”
If a product repeatedly fails to cure correctly, don’t assume the solution is simply buying a more powerful lamp. Check compatibility first.
6. Applying Color Coats Too Thick
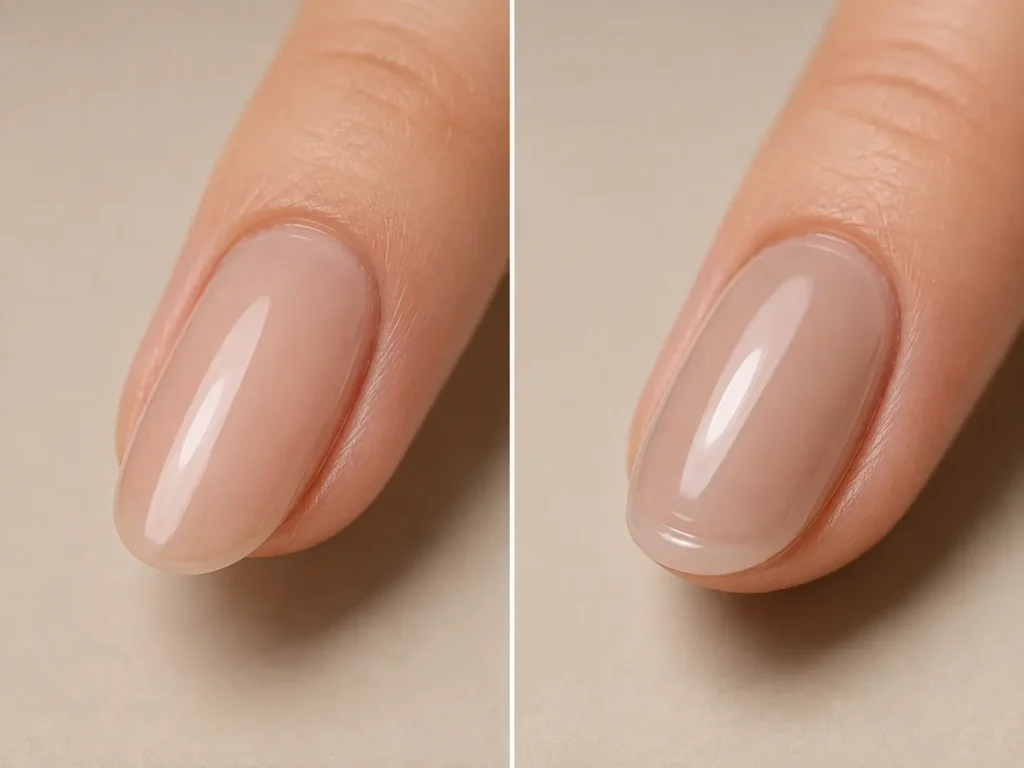
One thick coat may look faster, but gel polish generally performs better when applied in the thin layers recommended by the manufacturer.
A thick layer can make curing less reliable and can contribute to uneven wear, wrinkling, or lifting.
How to fix it
Apply the color in thin, controlled coats.
A good application should look more like:
thin coat → cure → thin coat → cure
rather than:
thick coat → hope it cures → move on
If the first coat looks slightly sheer, that’s not necessarily a problem. Build opacity gradually with the next coat rather than trying to achieve full coverage in one thick application.
7. Not Sealing the Free Edge
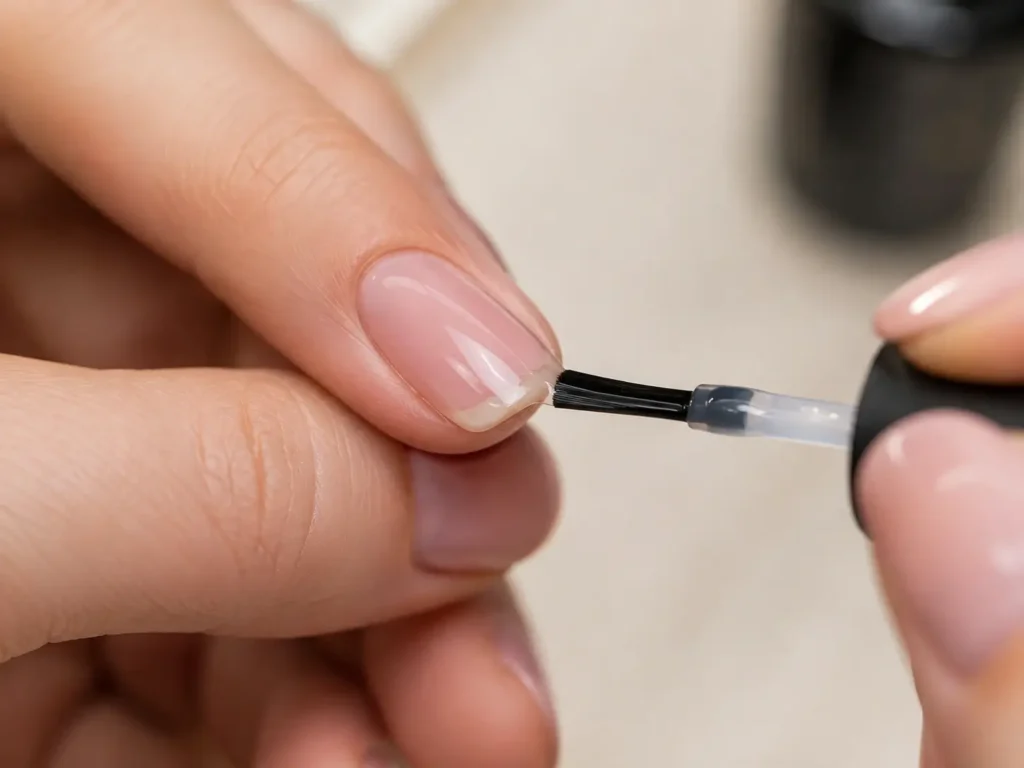
The free edge is the part of the nail that extends beyond the fingertip.
It experiences plenty of everyday friction from typing to opening packages to washing dishes and handling objects.
If the edge isn’t properly covered when the product instructions call for it, that exposed area can become a weak point.
How to fix it
When appropriate for your nail length and product system, lightly cap the free edge with the product.
Pay attention to:
- Base coat
- Color coat
- Top coat
The goal is not to create a thick blob at the tip. It is to create a neat, consistent application while following the product’s instructions.
This small detail can make a noticeable difference for people whose manicures repeatedly chip from the tips.
8. Mixing Products Without Checking Compatibility
Mixing brands isn’t automatically guaranteed to cause peeling.
However, when you’re trying to diagnose an adhesion problem, using multiple products from unrelated systems can make troubleshooting harder.
Different formulations can behave differently together.
How to fix it
If you’re having persistent lifting problems, simplify the variables.
For one manicure, consider using a compatible base, color, and top-coat system and follow the manufacturer’s instructions.
If that combination performs well, you have a useful baseline.
If you mix products, don’t assume that a problem with one combination means the individual products are defective.
9. Using Your Nails as Tools
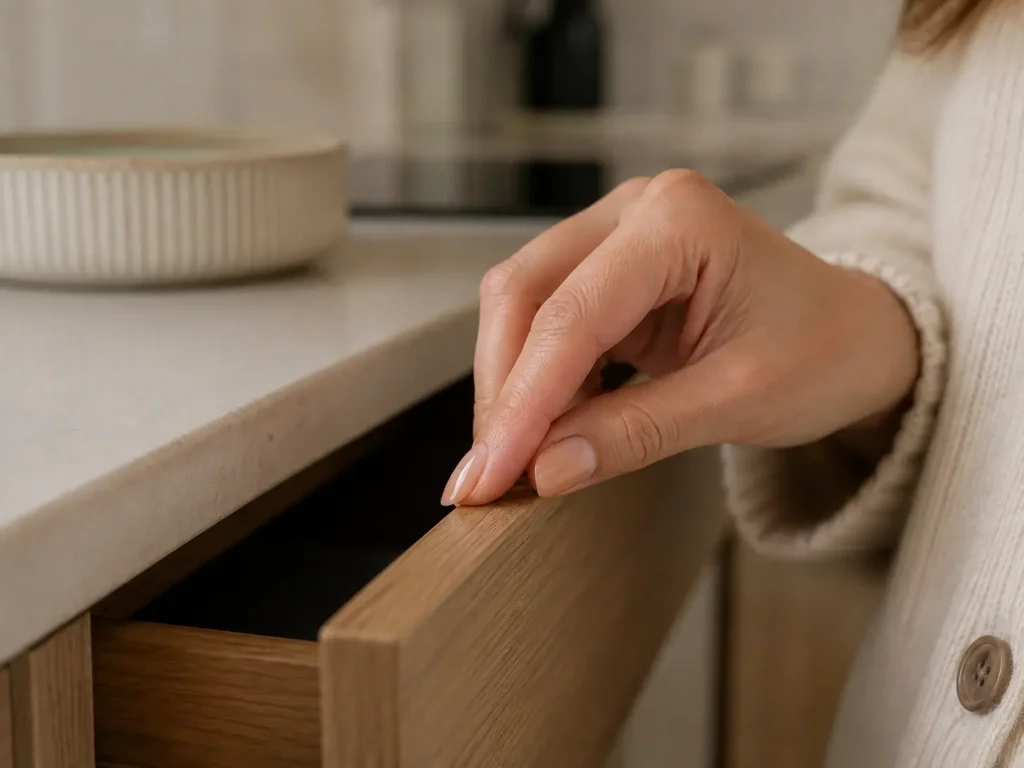
Even a perfectly applied manicure can chip when the nails are repeatedly used to perform jobs that should be done with your fingertips or an actual tool.
Opening cans, scraping stickers, picking at labels, or forcing objects apart places concentrated stress on the free edge.
How to fix it
Use your:
- Fingertips
- Finger pads
- Knuckles
- Household tools
instead of your nail tips.
Also remember that frequent exposure to water, cleaning products, and physical impact can affect how long any manicure remains looking fresh.
If you regularly do dishes, clean, garden, or work with your hands, protective gloves can help reduce unnecessary exposure.
10. Leaving Lifted Gel on the Nail
Once gel starts lifting, it can be tempting to ignore it until the rest of the manicure catches up.
Don’t pick at it.
Pulling or peeling cured product from the natural nail can remove or damage layers of the nail plate.
How to fix it
If you notice significant lifting:
Don’t peel it off.
Instead, follow the removal instructions for your particular gel system or have it professionally removed if you’re unsure how to do it safely.
Then identify why that nail lifted before immediately repeating the same application.
If the same nail repeatedly fails while the others remain intact, investigate that individual nail rather than changing every product at once.
Why Does Gel Polish Peel Off After Only 1 or 2 Days?
If your manicure starts peeling within 24–48 hours, focus on the basics first.
Check these five things:
- Was the nail plate properly prepared?
- Did any oil, lotion, or moisture remain on the nail?
- Did you touch the prepared nail before applying gel?
- Did any uncured gel touch the surrounding skin?
- Was every layer cured according to the product instructions?
If all five are correct, investigate product compatibility and your application technique next.
Why Does Gel Polish Peel Off in One Piece?
When an entire layer or manicure seems to come away like a sticker, the problem may be related to adhesion between the product and nail rather than ordinary tip wear.
Start with:
- Nail preparation
- Surface contamination
- Base-coat application
- Product compatibility
- Curing
- Skin contact
- Nail flexibility
This is also a good reason to look at how the product failed, not just how quickly it failed.
For a full breakdown of causes, see our guide on why gel polish peels off in one piece.
Why Does Gel Polish Chip Only at the Tips?
If the rest of your manicure looks good but the tips repeatedly chip, investigate the free edge first.
Ask yourself:
- Was the free edge capped?
- Are the nails being used as tools?
- Are the nails long enough that the tips experience significant leverage?
- Are you frequently typing, cleaning, washing, or handling objects?
- Was the color or top coat applied unevenly at the edge?
A manicure that lasts perfectly around the cuticle but chips at the tip has a different troubleshooting pattern from one that lifts around the entire nail.
What If Only One Nail Keeps Lifting?
If nine nails look perfect and one nail repeatedly lifts, don’t automatically replace every product.
Consider whether that nail:
- Has been damaged
- Is thinner or more flexible than the others
- Receives more mechanical stress
- Has a different shape
- Was prepared differently
- Is frequently exposed to water or impact
- Had product touching the surrounding skin
This is one of the most useful troubleshooting clues because not every lifting problem is a whole-manicure problem.
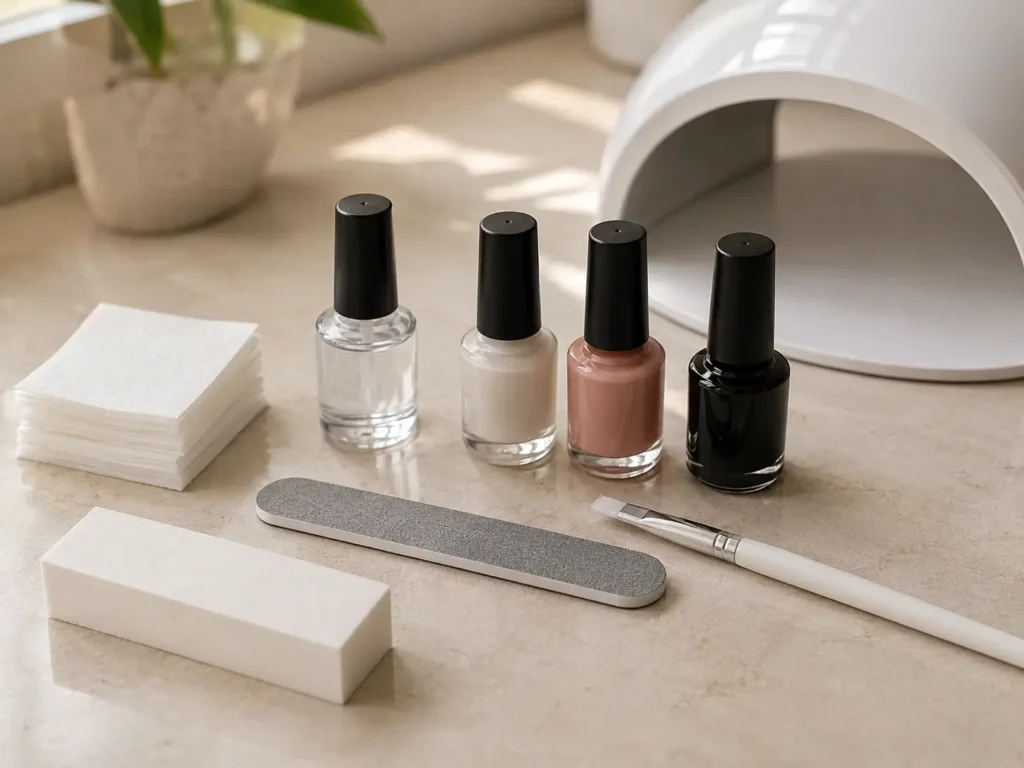
A Simple Pre-Application Checklist
Before your next gel manicure, run through this checklist:
- Nails are clean and properly prepared.
- No hand cream or cuticle oil is on the nail plate.
- Nail dust has been removed.
- Your products are appropriate for your intended system.
- Your lamp is compatible with the gel you’re using.
- You’re following the manufacturer’s cure time.
- Base and color layers are thin and even.
- Gel isn’t touching the surrounding skin.
- Free edges are sealed when appropriate.
- You’re not using your nails as tools.
If your previous manicure failed, don’t change ten things at once. Change the most likely problem first and observe whether the wear improves.
That makes troubleshooting much easier.
Even with the best preparation, manicures sometimes face unexpected damage. If you notice your manicure failing prematurely, it helps to understand why does gel polish peel off in one piece and how to fix cracked nail on side before starting over.
How to Make Gel Polish Last Longer: The Short Version
If you only remember five things, remember these:
1. Start with proper preparation
Clean and prepare the nail according to your product system.
2. Keep the layers controlled
Avoid unnecessarily thick base and color coats.
3. Keep gel off the skin
Clean any uncured product from the surrounding skin before curing.
4. Cure according to the product instructions
Don’t choose a lamp based only on wattage.
5. Protect the free edge
Cap it when appropriate and avoid using your nails as tools.
These five habits address many of the most common causes of premature lifting and chipping.
How to Care for a Gel Manicure After Application
Application isn’t the only factor.
To help your manicure stay looking good:
- Avoid deliberately picking or scraping at the gel.
- Use tools instead of your nails for opening and scraping.
- Wear gloves for tasks that involve prolonged water or household chemicals.
- Keep the surrounding skin moisturized with cuticle oil or hand cream after the manicure is complete, while avoiding unnecessary product buildup on the nail surface.
- Address lifting rather than picking at it.
- Remove the product according to its intended removal method when it is time.
And remember: a longer-lasting manicure isn’t worth damaging your natural nails to achieve it.
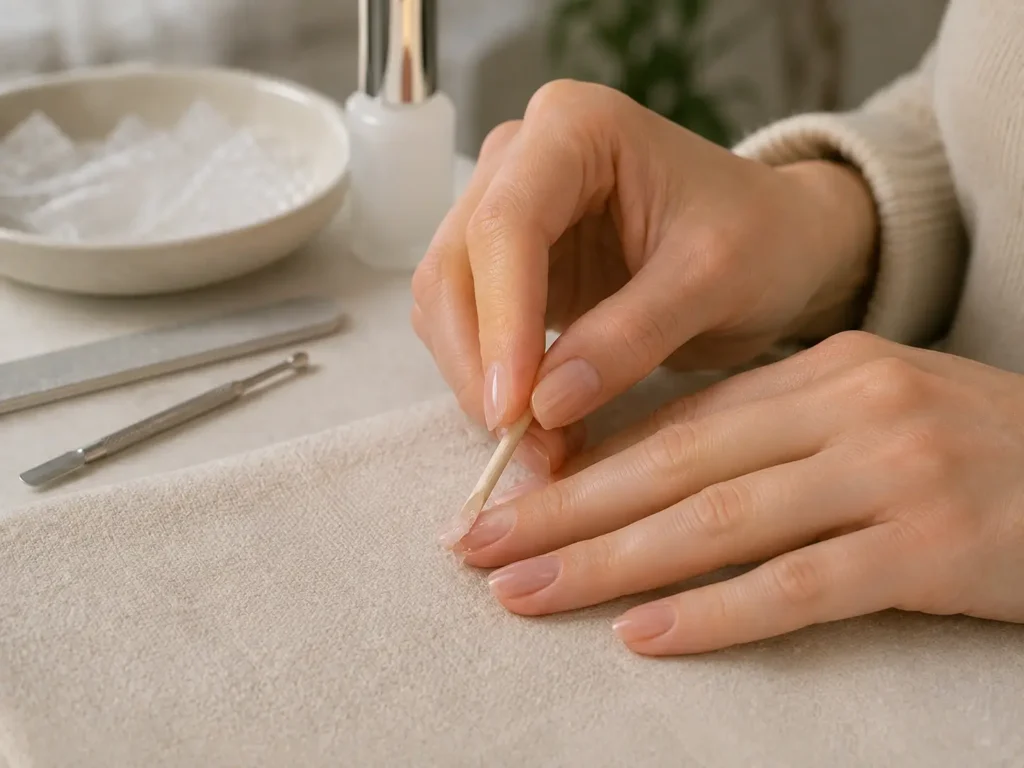
What to Do If Your Gel Is Already Lifting
The most important rule is simple:
Don’t peel it off.
Picking or forcibly removing gel can damage the natural nail underneath.
If the product has begun lifting significantly, use the appropriate removal process for that gel system. If you’re uncertain about removal or the natural nail appears damaged, getting professional help is the safer option.
After removal, look at the failure pattern before applying another manicure.
Where did it lift? How quickly? Was it one nail or all ten?
Those clues can tell you much more than simply switching to a different color.
Frequently Asked Questions
How do I get my gel polish to last longer?
Start with proper nail preparation, keep gel off the surrounding skin, apply thin and even layers, use a compatible lamp, follow the manufacturer’s cure instructions, and protect the free edge from unnecessary impact.
Why does my gel polish only last a week?
If your gel consistently lasts only about a week, review your preparation, layer thickness, curing, skin contact, free-edge sealing, product compatibility, and daily nail use.
Why does my gel polish peel after two days?
Very early peeling can be associated with poor nail preparation, oil or moisture on the nail, product touching the skin, overly thick application, or inadequate/incorrect curing. Check each of these before blaming the product itself.
How do I stop gel polish from peeling at the tips?
Make sure the free edge is properly covered when appropriate for your product system, avoid using your nails as tools, and pay attention to repeated mechanical stress at the tips.
Can I put gel polish over lifted gel?
Don’t simply paint over significant lifting. The lifted material should be dealt with using the appropriate removal process rather than trapping a compromised area underneath a new manicure.
Should I peel off gel polish when it starts lifting?
No. Pulling or peeling gel away from the natural nail can damage the nail plate. Remove the product using the appropriate method for that system.
Why does gel polish peel off in one piece?
A whole layer lifting together can point toward an adhesion or curing problem rather than ordinary tip wear. Review nail preparation, contamination, product compatibility, application, and curing.
Does a higher-wattage lamp always cure gel better?
No. Wattage alone doesn’t determine whether a lamp is appropriate for a particular gel. Compatibility, wavelength, formulation, lamp condition, and the manufacturer’s curing instructions all matter.
How long should gel polish last?
A well-applied gel manicure commonly lasts around two to three weeks, but actual wear time varies according to the products, application, nail condition, daily use, and natural nail growth.
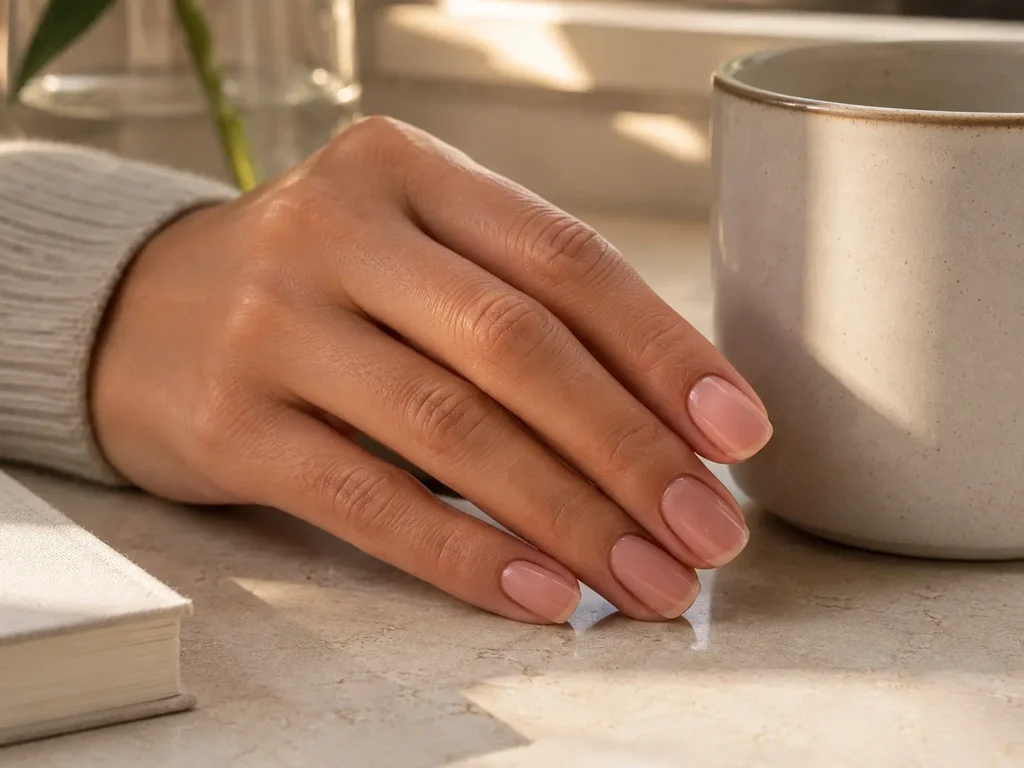
Final Takeaway
You don’t necessarily need a new gel polish, a more expensive manicure kit, or a stronger lamp to make your manicure last longer.
Start by fixing the fundamentals:
Prepare the nail properly.
Keep the layers controlled.
Keep gel off the skin.
Cure according to the product instructions.
Protect the free edge.
And never use your nails as tools.
If your manicure still fails, don’t guess. Look at where it lifted, how quickly it happened, and whether the problem affects one nail or all ten. That failure pattern can point you toward the real cause much faster.
A long-lasting gel manicure isn’t about applying more product or curing for longer. It’s about creating the right conditions for the product you’re using and then protecting the finished manicure from unnecessary stress.