

To do gel nails at home without early peeling or lifting, start with clean, completely dry natural nails, gently remove only the non-living tissue attached to the nail plate, lightly buff away shine, and remove dust and oils. Then apply your gel system in thin layers-base coat, color, and top coat- keeping uncured gel off the surrounding skin and curing every layer for the exact time recommended by the product manufacturer and compatible lamp.
The most important rule is simple: thin coats + clean prep + correct curing + no gel on the skin.
Important: This guide is for applying gel polish to natural nails. It does not cover builder gel, hard gel, gel extensions, or artificial nail tips.
Why Does Gel Polish Peel or Lift So Quickly?
When a gel manicure starts peeling after only a day or two, the problem is usually not the color itself. It is more often related to nail preparation, application technique, or curing.
The most common causes are:
- Oil, moisture, or dust left on the nail before the base coat.
- Too much cuticle tissue left on the nail plate, preventing the base coat from bonding properly.
- Gel touching the skin or cuticle area before it is cured.
- Applying coats that are too thick, which can interfere with proper curing.
- Not curing according to the product’s instructions.
- Failing to seal the free edge when the gel system recommends it.
- Picking or peeling the manicure once lifting begins.
If your gel polish repeatedly comes off in one sheet, see our guide to why gel polish peels off in one piece for a deeper look at the possible causes.
What You Need to Do Gel Nails at Home
You don’t need a huge collection of products to create a neat gel manicure. Start with the essentials and follow the instructions for your specific gel system.
| What You Need | Why You Need It |
|---|---|
| Nail file | Shapes and smooths the free edge |
| Cuticle pusher | Gently pushes back the cuticle |
| Fine nail buffer | Removes surface shine without aggressively thinning the nail |
| Lint-free wipes | Cleans the nail without leaving fibers |
| Nail cleanser or suitable alcohol/dehydrator | Removes surface residue, oils, and dust |
| Gel primer | Only if your gel system recommends one |
| Gel base coat | Creates the foundation for the manicure |
| Gel color polish | Adds the color |
| Gel top coat | Seals and protects the manicure |
| Compatible UV/LED lamp | Cures the gel products |
| Cuticle oil | Conditions the skin around the nails after the manicure |
Starting From Scratch? If you don’t already own the individual tools and base/top coats listed above, starting with an all-in-one bundle can make setting up easier. Look for a kit that includes a compatible curing lamp, base coat, top coat, and basic prep tools so your products are designed to work together.
➜ Check popular beginner gel nail starter kits on Amazon →
Do You Need a Primer?
Not necessarily.
Some gel systems recommend a separate primer, while others are designed to work without one. Don’t add primer simply because a tutorial says you need it.
Follow the instructions for your specific base-coat and gel system.
How to Do Gel Nails at Home Step by Step
Step 1: Shape and Prepare Your Natural Nails
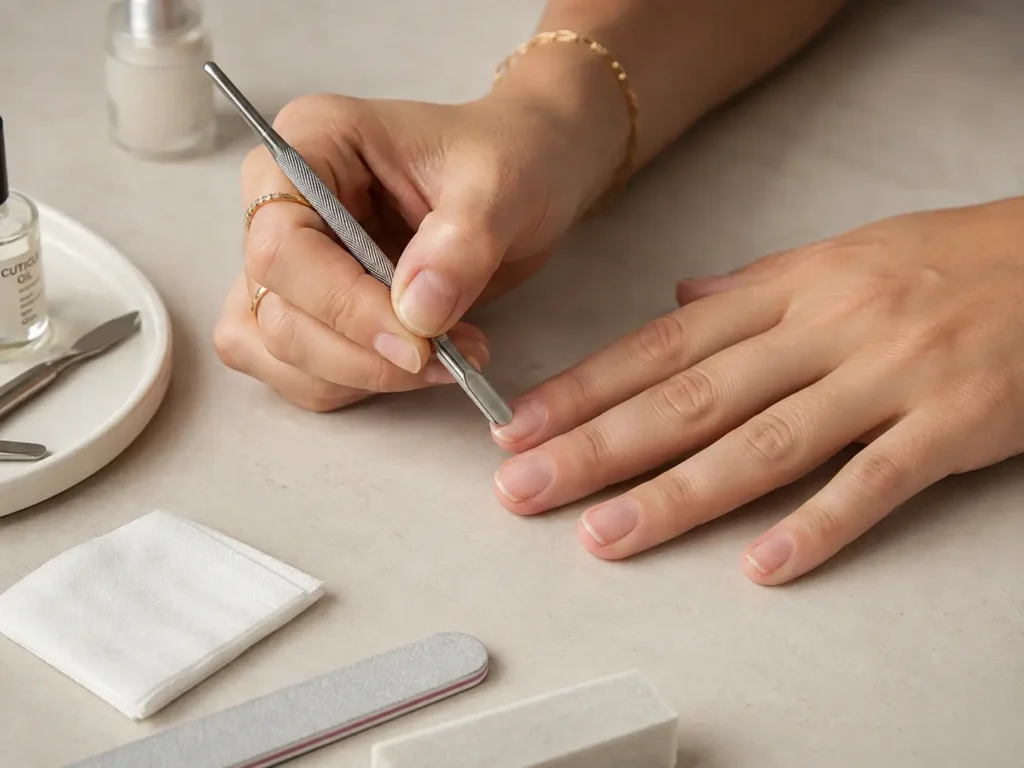
Good prep gives your gel manicure a clean surface to adhere to.
Start by:
- Remove any old polish or gel completely.
- Shape your nails with a file.
- Gently push back the cuticle.
- Carefully remove only the thin, non-living tissue attached to the nail plate.
- Lightly buff the natural nail to remove surface shine.
- Brush away the dust.
- Clean the nail with the cleanser or dehydrator recommended by your gel system.
Need a reliable prep product? If your gel system calls for a dedicated dehydrator or bonding primer, using a balanced 2-piece set like the Morovan Nail Prep Dehydrator and Primer Kit helps strip away hidden surface oils and creates maximum adhesion before base coat application.
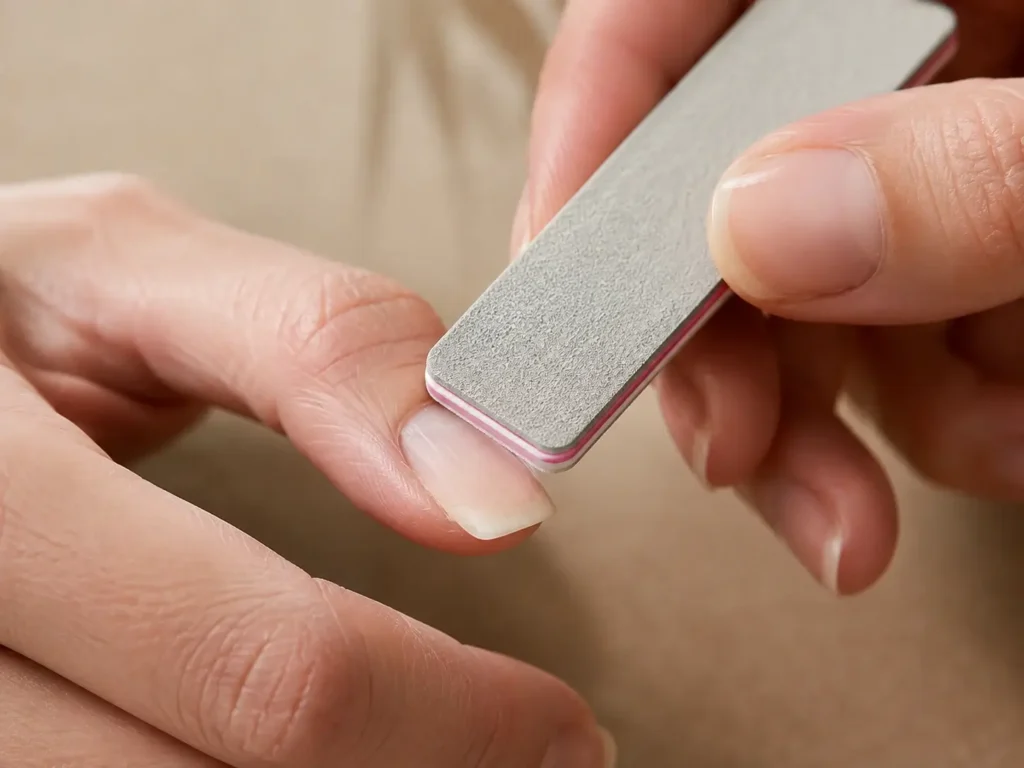
Don’t Over-Buff Your Nails
The goal is not to make your nails rough or thin.
You only need to remove the natural shine. Aggressive filing can weaken the nail and make the manicure less comfortable to wear.
Also avoid aggressively cutting the cuticle. Cuticles help protect the surrounding nail area, and dermatologists caution against routine cuticle cutting because it can increase the risk of irritation and infection.
What About Washing Your Hands Before a Gel Manicure?
Your nails should be clean and completely dry before application.
You don’t need to avoid water all day, but don’t begin the manicure while your nails are still damp. After washing your hands, allow them to dry thoroughly before nail prep and follow your product’s preparation instructions.
Step 2: Apply Primer Only If Your Gel System Requires It
If your product instructions call for primer:
- Apply a very thin layer.
- Keep it away from surrounding skin.
- Allow it to dry or cure exactly as instructed.
If your system does not call for primer, skip it.
More products do not automatically mean better adhesion.
Step 3: Apply a Thin Layer of Base Coat
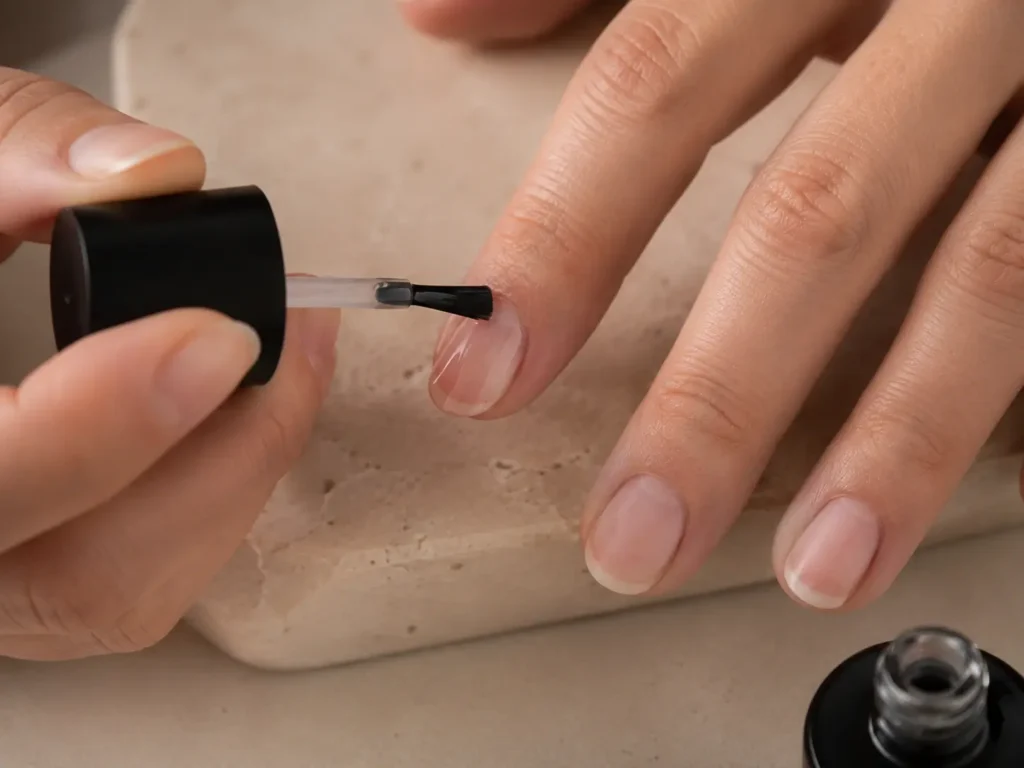
Base coat creates the foundation between your natural nail and the gel color.
- Remove excess product from the brush.
- Apply a very thin, even layer.
- Leave a tiny gap around the cuticle rather than flooding the skin.
- Carefully cover the nail surface.
- If your product instructions recommend capping the free edge, lightly brush along the tip.
- Check the nail from different angles for pooling or skin contact.
- Cure using the exact time recommended by the gel manufacturer.
The Golden Rule: Thin Layers
A common beginner mistake is trying to get full coverage with one thick layer.
Don’t.
Thin, controlled layers are easier to apply neatly and are less likely to create an overly thick manicure.
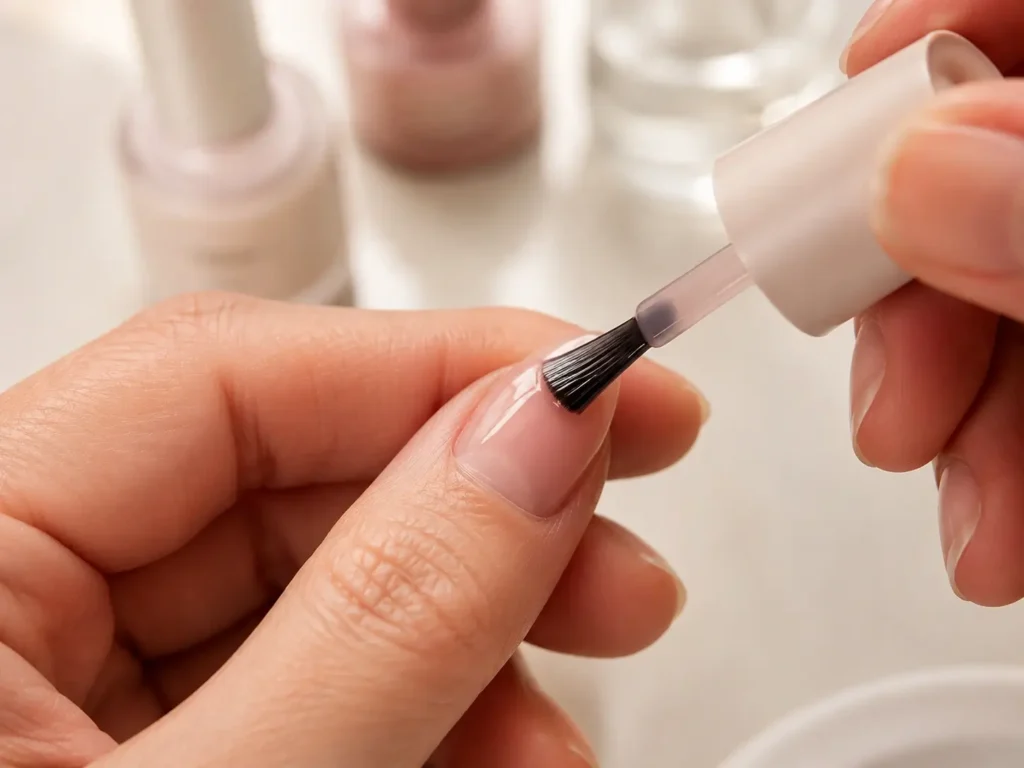
Step 4: Apply Your First Thin Coat of Gel Color
Now it’s time for the color.
- Wipe excess polish from one side of the brush.
- Start slightly away from the cuticle.
- Glide the brush toward the cuticle without touching the surrounding skin.
- Pull the color toward the free edge.
- Repeat on each side of the nail.
- If appropriate for your gel system, lightly cap the free edge.
- Inspect the skin around the nail before curing.
- Cure according to the manufacturer’s instructions.
What If Gel Polish Gets on Your Skin?
Do not cure it on the skin.
Stop and carefully remove the uncured gel from the surrounding skin before placing your hand under the lamp.
This matters for both the appearance and the safety of your manicure. Repeated skin exposure to nail products can contribute to contact dermatitis or allergic reactions in some people, and dermatology guidance specifically highlights the risk of uncured nail products contacting surrounding skin.
If you develop persistent itching, redness, swelling, blistering, or another unusual reaction after using nail products, stop using the product and consider speaking with a dermatologist.
Step 5: Apply the Second Thin Coat
After the first color layer has been properly cured:
- Apply another thin coat.
- Keep the product away from your skin.
- Smooth out uneven areas rather than adding a large amount of polish.
- Cap the free edge if your system recommends it.
- Cure again according to the manufacturer’s instructions.
Do You Always Need Two Coats?
No.
Some highly pigmented gel colors may provide enough coverage in one thin coat, while others need two or occasionally more.
The goal isn’t a specific number of coats.
The goal is complete coverage without creating unnecessary thickness.
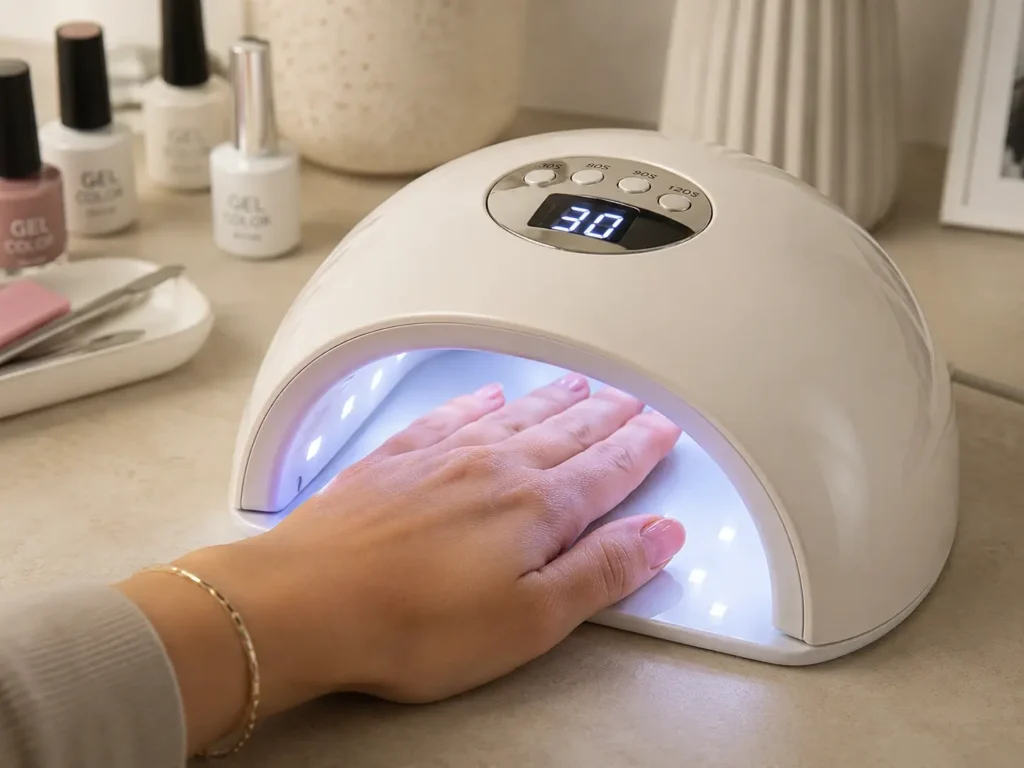
Step 6: Apply the Top Coat
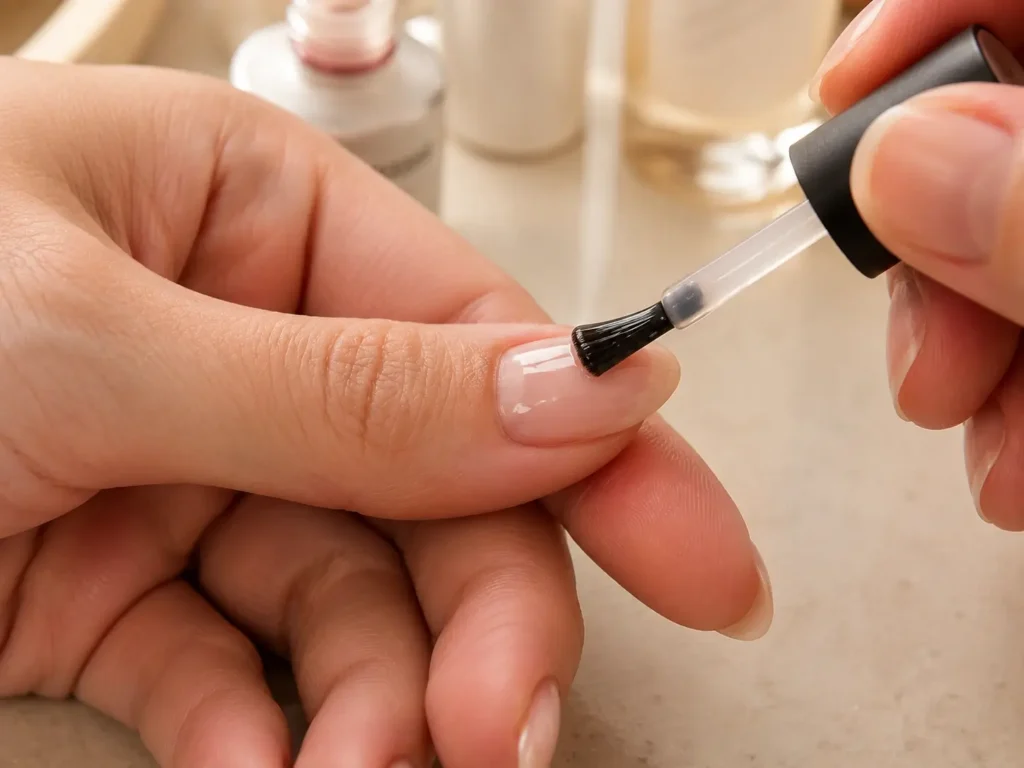
The top coat seals the color and gives your manicure its final shine.
- Apply an even, controlled layer.
- Avoid flooding the cuticle or sidewalls.
- Cover the entire nail.
- Cap the free edge if recommended by your system.
- Cure for the exact time specified by the manufacturer.
If you’re using a no-wipe top coat, follow its instructions after curing.
If you’re using a standard top coat that leaves an inhibition layer, remove that sticky residue only after the final cure and only as directed by the product.
Step 7: Finish With Cuticle Oil
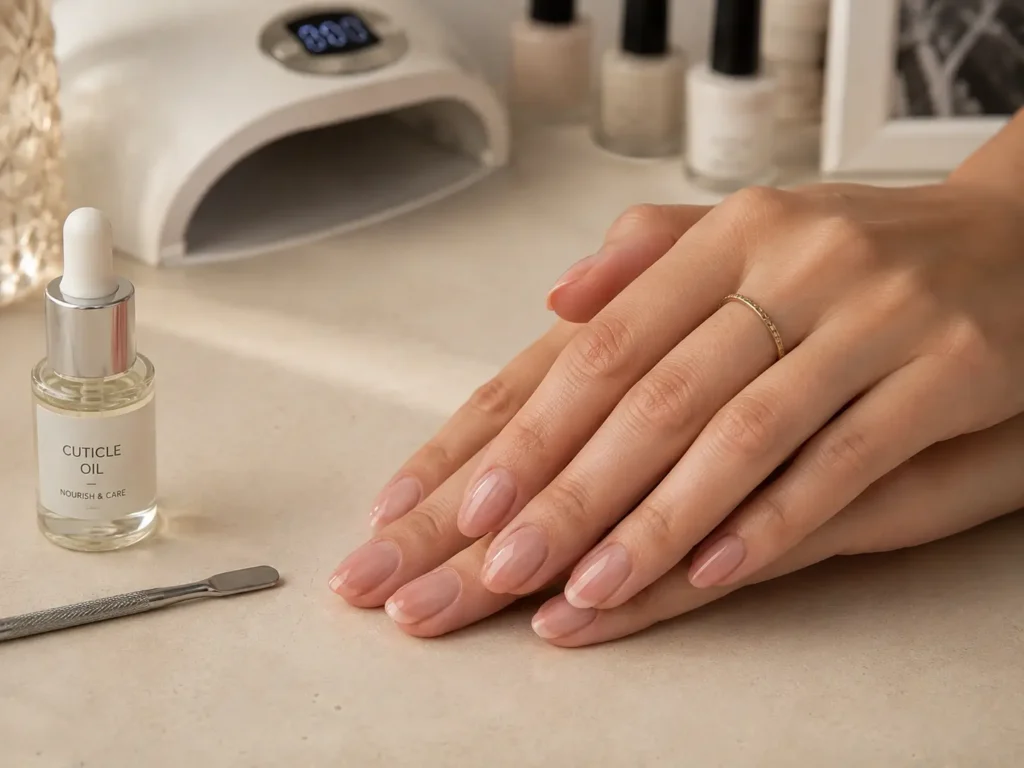
Once the manicure is complete, apply a small amount of cuticle oil around the nail.
Massage it gently into the surrounding skin.
This won’t magically prevent every lifting problem, but regular nail and cuticle care can help keep the surrounding skin comfortable and your manicure looking neat.
💅 Recommended Cuticle Oil:
Looking for a fast-absorbing option? The Cuccio Revitalizing Cuticle Oil (Milk & Honey) is lightweight, deeply hydrating, and perfect for keeping your cuticles soft after curing.
The Correct Order for Gel Nails at Home
If you’re a beginner, save this order:
Shape → Cuticle Prep → Light Buff → Clean/Dehydrate → Primer (if required) → Base Coat → Cure → Thin Color Coat → Cure → Second Color Coat → Cure → Top Coat → Cure → Cuticle Oil
That’s the basic application sequence.
The exact products, number of coats, and curing instructions can vary between gel systems, so the manufacturer’s directions always take priority.
7 Mistakes That Make Gel Polish Peel Early
1. Applying Gel Over Oils or Dust
Even a beautifully painted manicure can lift if the nail wasn’t properly cleaned first.
Fix: Finish your prep with the cleanser/dehydrator recommended by your system and avoid touching the nail plate afterward.
2. Getting Gel on Your Skin
Flooded cuticles and sidewalls are a common beginner problem.
Fix: Use less product on your brush and work slightly farther away from the cuticle.
If gel touches your skin, remove it before curing.
3. Applying Thick Coats
More product doesn’t mean a longer-lasting manicure.
Fix: Use thin coats and build coverage gradually.
4. Guessing the Cure Time
Don’t assume that any random lamp will properly cure your gel polish layers in 30 seconds. Weak bulbs or incorrect curing times leave the bottom layers of polish soft, which causes the entire manicure to peel off in one piece.
Fix: Follow the exact cure times listed on your gel polish, and make sure you are using a reliable, high-power light.
If you need a powerful, budget-friendly option, the JODSONE 320W UV LED Nail Lamp is a top-rated choice for home gel manicures.
- 72 Light Beads: Provides 360-degree light distribution to eliminate uncured dead spots around the edges.
- Smart Auto-Sensor: Automatically turns on when you slide your hand in and turns off when you pull out.
- 4 Timer Settings: Includes 10s, 30s, 60s, and a 99s low-heat mode to prevent painful heat spikes on thin natural nails.
5. Over-Buffing the Natural Nail
Aggressive buffing can thin the nail instead of simply preparing its surface.
Fix: Remove shine gently. You are preparing the surface-not sanding down the nail.
6. Picking at Lifting Gel
Once a corner starts lifting, it can be tempting to pull it off.
Don’t.
Picking or peeling gel can remove layers of the natural nail and contribute to nail damage. Dermatologists recommend avoiding picking at gel polish.
Fix: Remove the manicure properly when it is time for a change.
7. Ignoring the Product Instructions
Different gel systems can have different requirements for:
- Nail preparation
- Primer
- Base coat
- Number of coats
- Lamp compatibility
- Cure time
- Top coat
- Removal
Fix: Treat the manufacturer’s instructions as the final authority for that specific product.
How Long Should Gel Nails Last?
A properly applied gel manicure can often last around two weeks or longer, but there is no guaranteed lifespan.
Wear time depends on:
- The gel system you use
- Your natural nail condition
- How well the nails were prepared
- Whether the product was properly cured
- How much water, cleaning, impact, and everyday wear your hands experience
- How you care for the manicure afterward
If your gel consistently starts peeling within a few days, don’t simply add more top coat.
Go back through your application process and check:
Prep → Skin contact → Coat thickness → Curing → Free edge → Removal
One of those steps is often the clue.
How to Make Your Gel Manicure Last Longer
Once you’ve learned the correct application technique, a few habits can help protect your manicure.
Keep Your Nails Out of Prolonged Soaking
Frequent or prolonged exposure to water and household chemicals can be hard on both skin and nails.
For cleaning, dishwashing, or similar tasks, consider wearing gloves.
Don’t Use Your Nails as Tools
Opening cans, scraping labels, or prying objects with your nails puts unnecessary stress on the free edge.
Use Cuticle Oil Regularly
A small amount of cuticle oil can help keep the surrounding skin conditioned.
Repair Problems Early
If you notice a small area of lifting, don’t keep picking at it.
Deal with the manicure properly rather than turning one lifted edge into a full sheet of peeled-off gel.
For a deeper guide, read How to Make Gel Polish Last Longer.
When Should You Remove Gel Polish?
Don’t wait until half the manicure has lifted.
If the gel is significantly grown out, cracked, lifting, or damaged, it’s time to remove it properly.
Never peel or pick the gel off your natural nails.
For a detailed removal process, see How to Remove Gel Polish at Home.
Frequently Asked Questions
Can You Do Gel Nails at Home Without a UV or LED Lamp?
For conventional gel polish systems that require light curing, yes-you need the appropriate lamp to cure the product properly. Gel polish is not the same as regular nail polish that air-dries.
Always use the lamp and curing instructions specified for your particular gel system.
Why Are My Gel Nails Still Sticky After Curing?
Some gel products intentionally leave a tacky inhibition layer after curing.
That’s not necessarily a sign that the manicure failed.
Don’t automatically wipe it away between every coat. Follow the instructions for your specific base, color, and top coat. A no-wipe top coat, for example, is designed to finish without the same cleanup step.
How Many Coats of Gel Polish Should I Apply?
There isn’t one universal number.
A common beginner routine is:
1 thin base coat → 1–2 thin color coats → 1 top coat
Some colors need more coverage; others need less.
The priority is keeping each layer thin enough to apply neatly and cure according to the product instructions.
Why Does My Gel Polish Peel After One or Two Days?
The most common things to check are:
- Was the nail completely clean and dry?
- Was too much cuticle tissue left on the nail plate?
- Did the gel touch your skin?
- Were the coats too thick?
- Was each layer cured according to the manufacturer’s instructions?
- Was the free edge properly sealed when required?
If the gel repeatedly comes off in one piece, read Why Does Gel Polish Peel Off in One Piece?.
Do I Need Primer for Gel Nails?
Not always.
Some gel systems recommend a separate primer, while others do not.
Check the instructions for your specific base coat and gel system before adding primer.
Can I Apply Gel Polish Directly to Natural Nails?
Yes. Conventional gel polish can be applied to natural nails when the product system is designed for that use.
The key is proper preparation, thin application, avoiding skin contact, and following the manufacturer’s curing instructions.
This guide specifically covers gel polish on natural nails, not builder gel or extensions.
Can I Peel Off Gel Polish When It Starts Lifting?
No.
Peeling or picking at gel polish can remove layers of the natural nail and increase nail damage.
Instead, remove the gel using the appropriate removal method for your product.
Your Beginner Gel Nail Checklist
Before you start, make sure:
- Your natural nails are clean and completely dry.
- Your nails are shaped.
- Cuticle prep is gentle and controlled.
- Surface shine has been lightly removed.
- Dust and oils have been cleaned away.
- Your gel system’s primer instructions are clear.
- Your lamp is compatible with your gel system.
- You know the manufacturer’s recommended curing times.
- Your coats will be thin.
- You will check for skin contact before curing.
- You won’t pick or peel the manicure later.
Final Takeaway
You don’t need complicated nail-art skills to get a neat gel manicure at home.
The biggest difference comes from how you prepare and apply the product, not how much product you use.
Remember the four essentials:
Clean, dry nails.
Thin coats.
Correct curing.
No uncured gel on the skin.
Master those four habits, and you’ll have a much better starting point for a clean, glossy gel manicure that stays looking fresh for longer.
If you’re troubleshooting a manicure that already peels, continue with Why Gel Polish Peels Off in One Piece. If your goal is simply to extend wear time, read How to Make Gel Polish Last Longer. And when it’s time for a new set, follow How to Remove Gel Polish at Home.