

You finally find a press-on set you love, spend time getting every nail lined up, and then one pops off while you’re washing your hands.
Then another comes loose.
And suddenly you’re wondering whether the problem is the glue, the nails, or something you’re doing wrong.
If your press-on nails won’t stay on, don’t automatically blame the press-ons. In many cases, the problem comes down to the condition of your natural nail, the fit of the tip, the adhesive, or what happens during the first few hours after application.
The good news is that most of these problems are easy to troubleshoot once you know what to look for.
Quick Answer: Why Won’t My Press-On Nails Stay On?
Press-on nails commonly fall off because the natural nail still has oil or moisture on it, the surface wasn’t properly prepared, the press-on doesn’t fit correctly, or the adhesive wasn’t applied or allowed to set properly. Water, repeated pressure, and lifting at the edges can make the problem worse.
Start with three things: clean and dry your natural nails, make sure every press-on fits correctly, and use an adhesive according to its instructions.
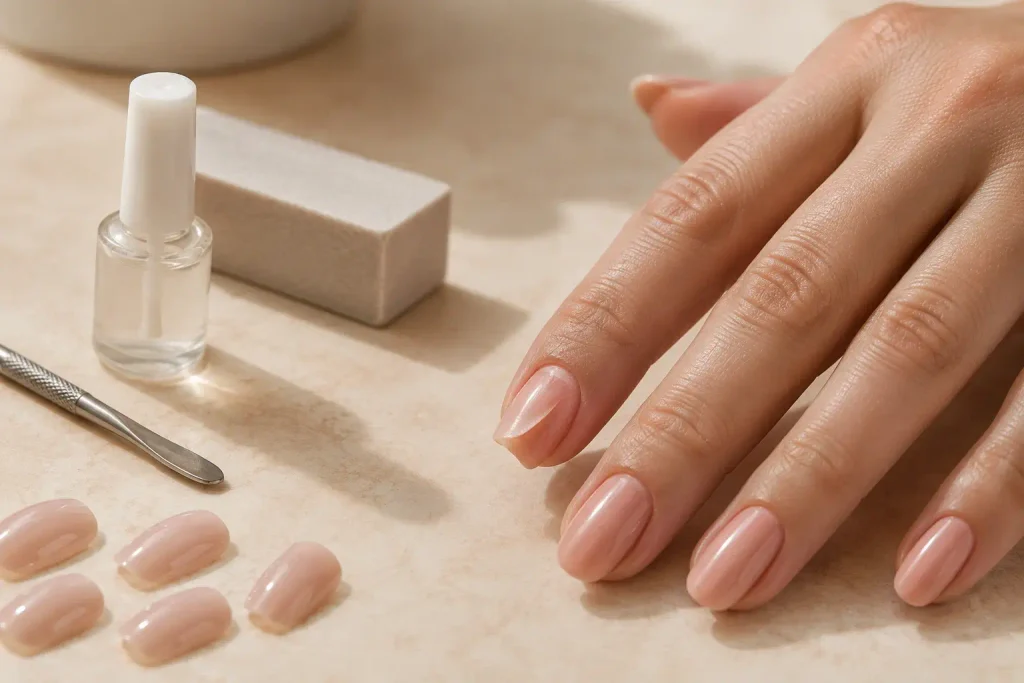
First, Look at How Your Press-On Nail Is Falling Off
Before changing your entire routine, look at the nail that came off.
The way it failed can give you a useful clue.
If the entire press-on pops off cleanly
Check:
- Nail preparation
- Oil or moisture on the nail
- Adhesive amount
- Glue condition
- Whether the nail was pressed firmly enough
If the edges start lifting first
Check:
- Nail size and fit
- Whether the press-on is touching surrounding skin
- Glue coverage near the edges
- Frequent water exposure
- Whether you are using the nail as a tool
If the nail breaks or cracks instead of simply coming off
The problem may be related to the press-on itself, its shape, or repeated mechanical stress rather than adhesion alone.
If several nails fall off within the same day
Look at your prep and adhesive routine first.
When multiple nails fail in a similar way, changing the entire nail set may not solve the underlying problem.
7 Reasons Your Press-On Nails Keep Falling Off
1. Your Natural Nails Still Have Oil or Moisture on Them
This is one of the easiest problems to overlook.
Your natural nails can have traces of:
- Hand lotion
- Cuticle oil
- Natural skin oils
- Soap residue
- Moisture
- Dust
Even when your nails look perfectly clean, residue on the nail plate can interfere with the adhesive.
What to do
Before applying your press-ons:
- Clean your hands.
- Dry your nails thoroughly.
- Avoid applying lotion or cuticle oil to the nail plate immediately beforehand.
- Clean the nail surface according to the instructions for your adhesive or nail-prep product.
- Try not to touch the prepared nail surface afterward.
That last step is easy to forget.
You can carefully prep a nail and then immediately touch it with your fingertip while trying to position the press-on.
2. You Skipped or Overdid Nail Prep
There is a middle ground with nail preparation.
Skipping prep can make adhesion difficult, but aggressive filing can damage your natural nails.
If you choose to buff, the goal should be gentle surface preparation rather than aggressively thinning the nail.
A simple prep routine
- Push back excess cuticle carefully.
- Remove loose debris from the nail plate.
- Lightly buff if appropriate for your adhesive/application method.
- Remove the resulting dust.
- Clean and dry the surface.
- Avoid touching the nail afterward.
You don’t need to turn your natural nails into a rough surface.
Think clean and prepared, not heavily filed.
3. The Press-On Doesn’t Fit Your Natural Nail Properly
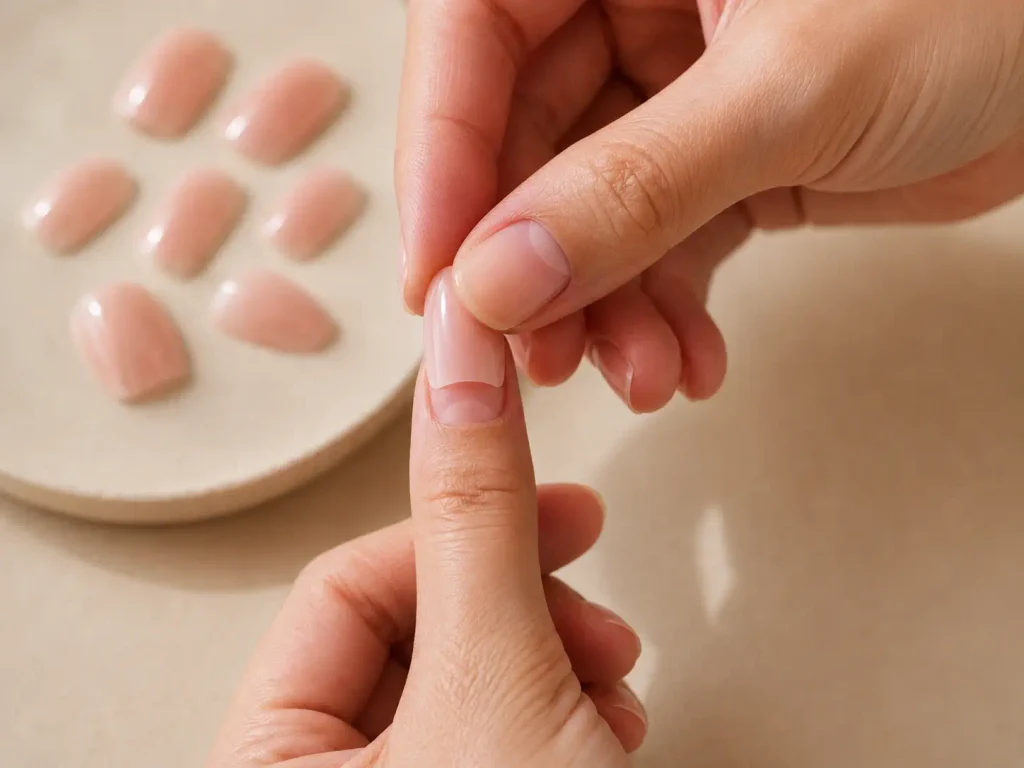
This is a surprisingly common reason press-ons lift.
Before applying glue, place each artificial nail over your natural nail without adhesive.
Check the fit from side to side.
A properly sized press-on should sit comfortably over the natural nail without:
- Pinching the sides
- Leaving large gaps
- Sitting on surrounding skin
- Pressing against the sidewalls
- Rocking from side to side
If a press-on is slightly too wide, carefully filing the edges may help you get a better fit.
If it is obviously too small, don’t force it.
A smaller nail isn’t necessarily going to stay better just because it feels tighter.
4. Your Nail Glue Isn’t Sticking Properly
If your press-on nails aren’t sticking even after careful preparation, the adhesive deserves a closer look.
Check these four things first:
Is the glue still in good condition?
If the product has thickened, become difficult to spread, or doesn’t behave as it normally does, it may be time to replace it.
Is it actually nail glue?
Use an adhesive intended for artificial nail application and follow the manufacturer’s directions.
Are you applying the right amount?
Too little may leave areas without adequate contact. Too much can make the application messy and difficult to control.
Are you following the product’s application instructions?
Different adhesives can have different application and setting instructions, so there isn’t one universal number of seconds that applies to every product.
If your nail glue repeatedly fails
If you’ve tried everything above and your glue still isn’t holding, it might genuinely be time to switch. I’ve been using the NYK1 Super Strong Nail Glue for press-ons, tips, and acrylics, and the difference in hold compared to the free tube glue that comes in most press-on kits is noticeable.
The advantage isn’t that every brush-on glue is automatically stronger.
It’s that the brush can make controlled, even application easier.
For a more detailed product-focused comparison, see our guide to the Best Nail Glue for Press-On Nails.
5. You’re Applying the Glue Incorrectly
Even good glue won’t perform well if the press-on isn’t making consistent contact with the natural nail.
Before applying adhesive, dry-fit the entire set so you already know which nail belongs on each finger.
Then follow the instructions supplied with your adhesive.
The basic principle is simple:
You want consistent contact between the press-on and the natural nail, without excess adhesive spilling onto the surrounding skin.
Once the press-on is positioned, apply steady pressure according to the adhesive’s instructions.
Don’t keep moving the nail around after you’ve placed it.
If the nail shifts during application, you may end up with gaps or uneven adhesive coverage.
6. You Get Your Nails Wet Too Soon
This is especially relevant if your press-ons start lifting shortly after application.
A fresh adhesive bond needs time to set according to the product’s instructions.
So applying press-ons immediately before:
- A shower
- Washing dishes
- Swimming
- A long bath
- Heavy handwashing
isn’t ideal.
What about showering?
Water doesn’t automatically make properly applied press-ons fall off.
The bigger issue is repeated or prolonged exposure to water, particularly soon after application, combined with an adhesive bond that hasn’t fully set.
If you can, apply your press-ons when you know you won’t immediately need to get your hands wet.
And when you’re doing dishes or cleaning, gloves can help reduce unnecessary water exposure.
7. You’re Putting Too Much Stress on the Nail
Press-on nails aren’t designed to replace tools.
If you use your nails to:
- Open cans
- Peel labels
- Scrape surfaces
- Pry things open
- Pick at stickers
- Pull tight packaging
you’re putting leverage on the adhesive bond.
That repeated stress can cause an edge to lift.
Once an edge lifts, everyday activities can make the problem worse.
A simple habit that helps
When you need to open or scrape something, use your fingertip or an actual tool rather than the edge of your press-on.
It sounds obvious, but this is one of those small habits that can make a difference over time.
Why Is My Nail Glue Not Sticking?
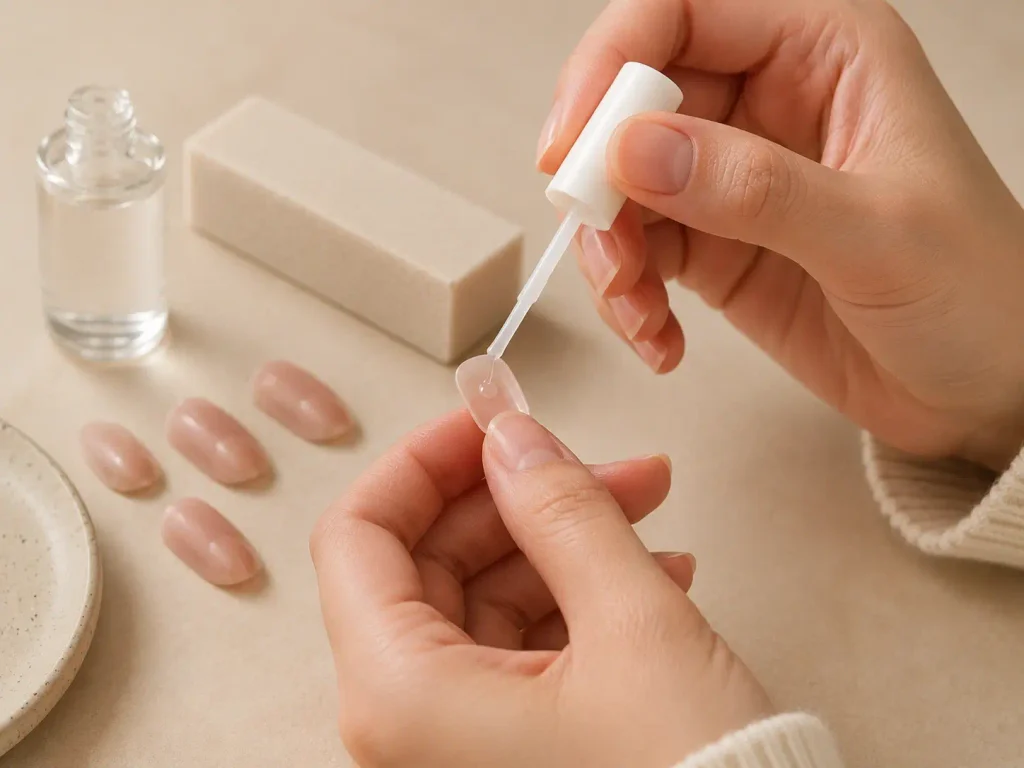
If you’ve already cleaned and prepared your nails but the glue still doesn’t seem to hold, work through this checklist.
Your nail is oily or damp
Go back to your preparation routine.
Make sure the nail surface is clean and dry before applying adhesive.
The glue has changed consistency
Old or poorly stored adhesive may not perform as expected.
Check the manufacturer’s storage and replacement guidance.
The adhesive isn’t covering the contact area properly
Look at the underside of the press-on and the natural nail.
You want the two surfaces to make good contact rather than leaving obvious gaps.
The press-on is the wrong size
A badly fitted nail can create movement and lifting even when the glue itself is fine.
The nail is touching surrounding skin
Adhesive is intended for the appropriate nail surface-not for bonding the artificial nail to skin.
If your press-on overlaps the surrounding skin, reconsider the size or shape before applying it.
How to Prep Your Nails So Press-Ons Actually Stay On
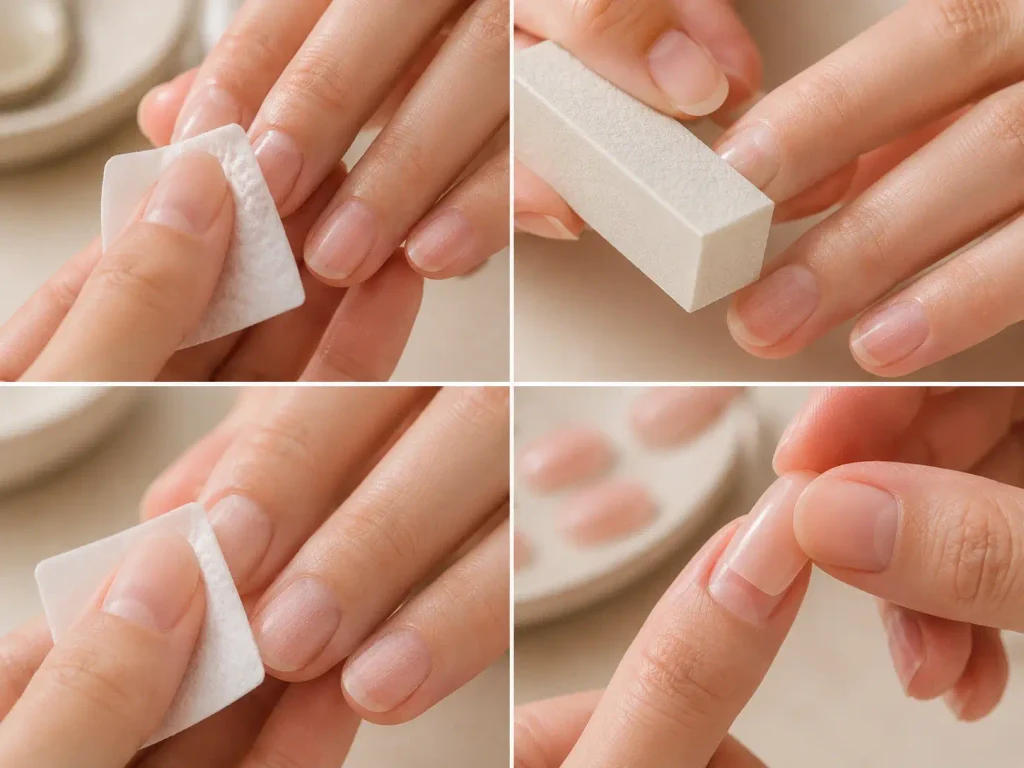
If you want to improve your application, use this simple order.
Step 1: Clean Your Hands
Start with clean hands and nails.
Dry everything thoroughly.
Don’t immediately apply hand cream or cuticle oil to the nail plate.
Step 2: Prepare the Cuticle Area
Gently push back excess cuticle if needed.
The goal is to expose a clean nail surface without aggressively cutting or damaging the surrounding skin.
Step 3: Lightly Prepare the Nail Surface
If your application system calls for light buffing, gently remove surface shine.
Don’t aggressively file your natural nail.
This is where a proper nail dehydrator and primer make a real difference over just wiping with alcohol. I use the Morovan Nail Prep Dehydrator and Primer; it’s acid-free, dries fast, and strips away oil and moisture the glue would otherwise fight against.
Step 4: Remove Dust and Residue
Clean away any dust created during preparation.
Use the nail-prep method recommended for your adhesive.
Step 5: Dry-Fit Every Press-On
Before using glue, check every nail.
Make sure each one fits comfortably.
This is the stage where you should make adjustments—not after you’ve already applied adhesive.
Step 6: Apply the Adhesive
Use the amount and application method recommended by the adhesive manufacturer.
Avoid getting adhesive on your skin.
Step 7: Position and Hold
Place the press-on carefully and apply steady pressure according to the product instructions.
Don’t immediately start testing the nail by pushing or pulling on it.
How to Make Press-On Nails Last Longer
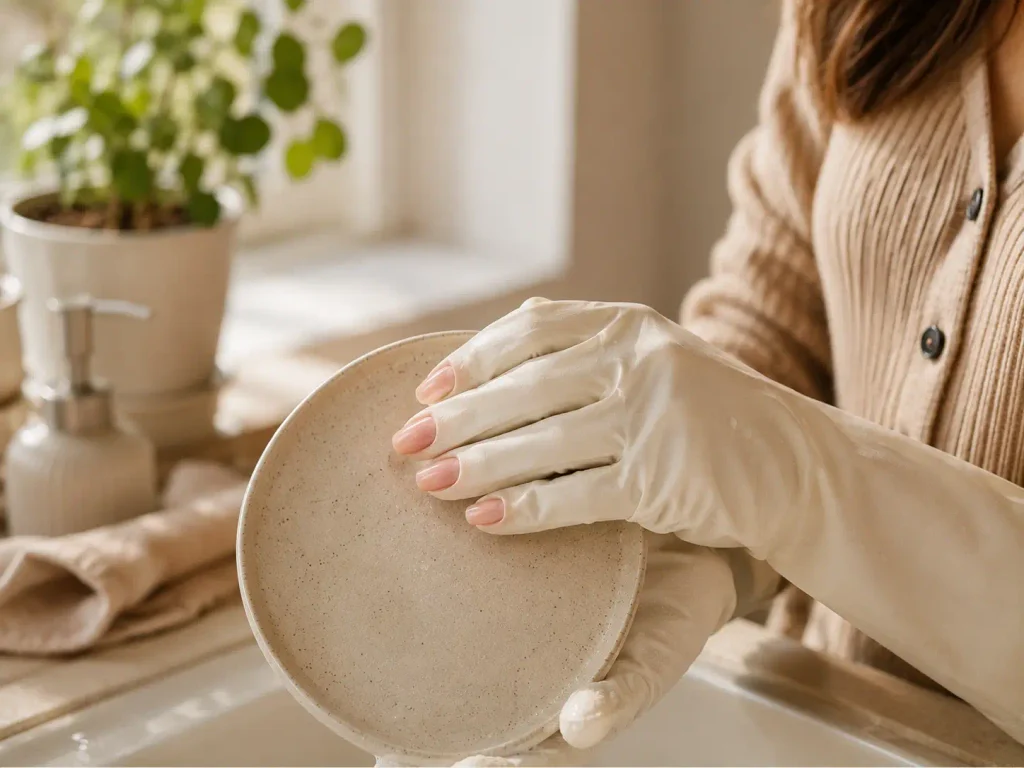
There isn’t one guaranteed wear time for every person.
How long your press-ons last depends on the adhesive, preparation, fit, application technique, the press-on itself, and your daily activities.
But these habits can help improve your chances of getting longer wear.
1. Do your prep before opening the glue
Have every nail sized and ready first.
That way you’re not trying to find the correct nail while adhesive is already on your finger.
2. Keep lotion and oil away from the nail plate before application
Moisturize around the nail when appropriate, but avoid leaving an oily layer where the adhesive needs to bond.
3. Protect your nails during cleaning
Wear gloves when washing dishes or using cleaning products.
A pair of gloves you’ll actually reach for makes this habit stick. I keep a pair of LANON cleaning gloves by the sink; the cotton lining makes them comfortable enough that I don’t skip them, even for quick dishwashing.
4. Stop using your nails as tools
This is one of the simplest changes you can make.
5. Deal with lifting early
If an edge starts lifting, don’t keep picking at it.
A lifted nail can catch on hair, clothing, and other objects.
Depending on the condition of the nail, removing it properly and reapplying may be better than repeatedly pressing it back down.
6. Reseal the edges every few days.
A quick swipe of top coat over the edges of your press-ons helps seal down any early lifting before it becomes a real problem. I use this quick-dry, high-shine top coat for exactly this.
Can You Make Press-On Nails Last Longer Without Glue?
Yes.
Adhesive tabs are an option if you don’t want to use liquid nail glue.
They’re particularly useful when you want:
- Temporary wear
- Easier removal
- A manicure for a special occasion
- The possibility of reusing your press-ons
The trade-off is that wear time can vary and may be shorter than with liquid adhesive.
If your priority is longer wear, liquid nail glue is generally the more appropriate option.
If your priority is easy removal and temporary use, adhesive tabs may make more sense.
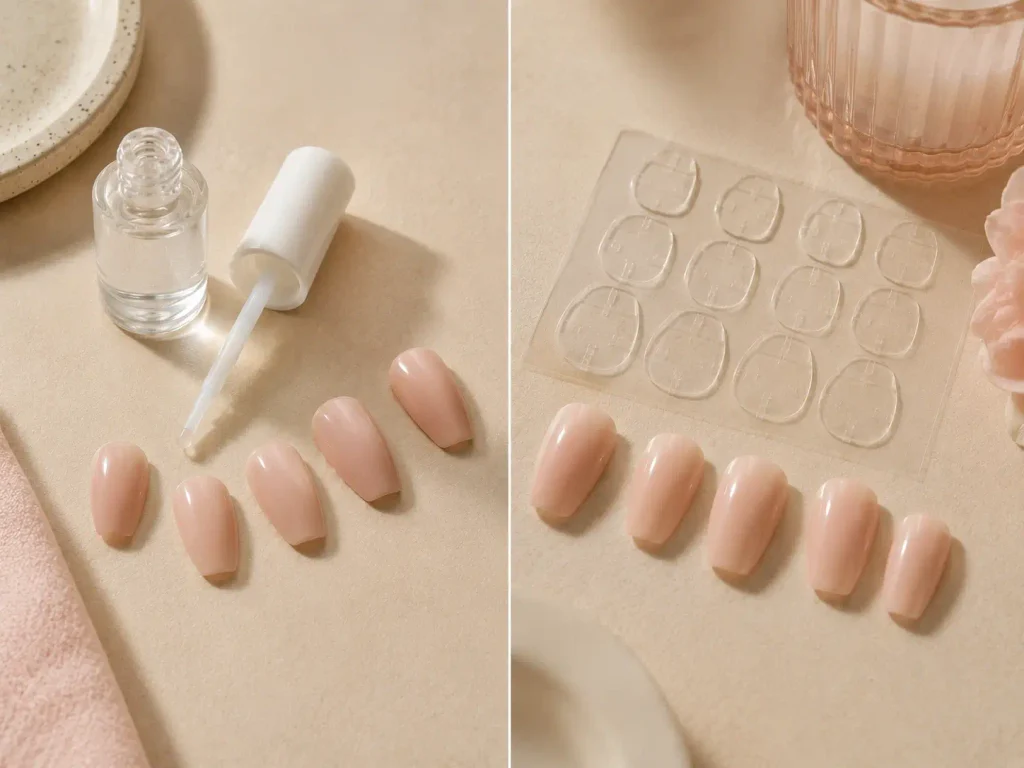
Nail Glue vs. Adhesive Tabs: Which Is Better?
| Feature | Nail Glue | Adhesive Tabs |
|---|---|---|
| Best for | Longer wear | Temporary wear |
| Application | Requires more care | Usually quick and simple |
| Removal | Requires more care | Generally easier |
| Reusing press-ons | Can be more difficult | Often easier |
| Water exposure | Depends on adhesive and application | Can be more vulnerable |
| Best choice when… | You want a stronger, longer-wear setup | You want convenience and easier removal |
There isn’t a universal winner.
Choose based on how you want to use the press-ons.
Will Press-On Nails Fall Off in the Shower?
They can, but water alone doesn’t automatically mean your press-ons will fall off.
If your nails were applied properly and the adhesive has had time to set, normal showering shouldn’t automatically remove them.
The bigger problems are:
- Getting them wet immediately after application
- Repeated long soaking
- Very hot water
- Scrubbing directly around the nail edges
- Already-lifted edges
- Poor preparation underneath the press-on
A simple shower rule
If you’ve just applied your press-ons, give the adhesive the setting time recommended by the product before exposing your nails to significant water.
During normal showers afterward, avoid deliberately pulling, picking, or scrubbing around the edges.
If you notice an edge beginning to lift, don’t ignore it.
What If One Press-On Nail Pops Off?
Don’t immediately glue it back on top of the old adhesive.
First:
- Remove the loose nail carefully.
- Remove old adhesive residue appropriately.
- Clean and prepare the natural nail again.
- Check whether the press-on still fits correctly.
- Apply fresh adhesive according to the product instructions.
- Reapply carefully.
If the same finger repeatedly loses its press-on while the others stay secure, pay special attention to that nail.
It may have a sizing problem, unusual shape, extra oil/moisture exposure, or repeated mechanical stress.
Common Mistakes That Make Press-Ons Fall Off
Before your next application, check that you’re not making one of these mistakes:
- Applying lotion immediately before your manicure
- Skipping nail preparation
- Aggressively buffing the natural nail
- Choosing a press-on that’s too small
- Allowing the press-on to overlap surrounding skin
- Using old or poorly stored adhesive
- Applying adhesive without checking the product instructions
- Getting your nails wet immediately after application
- Using press-ons as tools
- Picking at or lifting edges
- Trying to fix a badly fitted nail by simply adding more glue
That last one is particularly important.
More glue cannot fix a bad fit.
If the artificial nail is the wrong shape or size, fix the fit first.
A Simple Press-On Nail Routine for Beginners
If you’re new to press-ons, don’t overcomplicate the process.
Before application
Clean → Dry → Prepare → Size
During application
Apply adhesive → Position carefully → Hold according to instructions
After application
Give the adhesive time to set → Avoid unnecessary water → Protect your nails during chores
If a nail starts lifting
Don’t pick → Find the cause → Remove/reapply if necessary
That’s the entire process.
You don’t need a complicated salon routine to get better results.
When Should You Replace Your Nail Glue?
If your adhesive has become unusually thick, stringy, difficult to apply, or behaves differently from when you first opened it, check the product’s expiration/storage guidance.
Nail glue can also be affected by exposure to air and improper storage.
Instead of judging the glue only by how much remains in the bottle, pay attention to whether it still behaves as the manufacturer intended.
A small bottle of fresh adhesive is more useful than a nearly full bottle that no longer performs properly.
If it's been a while and you're not sure your current glue is still performing the way it should, it's worth just replacing it. This is the one I currently keep stocked: NYK1 Super Strong Nail GlueFrequently Asked Questions
Why won’t my press-on nails stay on?
The most common reasons are poor nail preparation, oil or moisture on the natural nail, incorrect sizing, adhesive problems, or getting the nails wet too soon after application. Check the fit and preparation before assuming you need a different brand of press-ons.
Why do my press-on nails pop off after one day?
If several nails come off within a day, check your nail prep, adhesive, sizing, and water exposure first. If only one nail repeatedly comes off, look more closely at that individual nail’s fit and daily use.
Why isn’t my nail glue sticking?
Your natural nail may still have oil, moisture, dust, or residue on it. The adhesive may also be old, improperly stored, or unsuitable for the application. Make sure you’re using nail adhesive according to its instructions.
How do I make press-on nails last longer?
Start with clean, dry, properly prepared nails and correctly sized press-ons. Use an appropriate adhesive, allow it to set according to the instructions, protect your nails from unnecessary water and wear, and avoid using them as tools.
Will press-on nails fall off in the shower?
They can loosen, particularly if they were recently applied, poorly prepared, or already beginning to lift. Once the adhesive has properly set, normal showering shouldn’t automatically remove a well-applied press-on.
Can I wear press-on nails without glue?
Yes. Adhesive tabs can be used instead of liquid nail glue. They’re often convenient for temporary wear and easier removal, although wear time can vary.
Are nail glue or adhesive tabs better?
It depends on your goal. Nail glue is generally the better choice when you want longer wear, while adhesive tabs are useful when you prioritize quick application, temporary wear, and easier removal.
Why do my press-on nails lift at the edges?
Edge lifting can happen when the press-on doesn’t fit correctly, the adhesive doesn’t cover the contact area properly, the nail overlaps surrounding skin, or repeated water and mechanical stress weaken the bond.
What should I do when a press-on nail pops off?
Remove the old adhesive residue, clean and prepare the natural nail, check the press-on’s fit, and reapply it with fresh adhesive according to the product instructions. Don’t simply add more glue over a dirty or poorly fitted nail.
Should press-on nails hurt?
They shouldn’t be painful. If a press-on causes significant discomfort, pressure, or irritation, remove it rather than trying to tolerate the problem. The tip may be too small, improperly fitted, or the adhesive may have contacted surrounding skin.
Final Thoughts
When press-on nails keep falling off, the solution usually isn’t to keep adding more glue.
Start with the basics: prepare the natural nail, choose the right size, use the adhesive correctly, and protect the finished manicure from unnecessary stress.
If the entire nail keeps popping off, investigate your prep and adhesive.
If only the edges lift, check the fit and whether the nail is touching surrounding skin.
If one particular finger always loses its press-on, look at what makes that nail different.
And if your nail glue simply isn’t performing anymore, it may be time to replace it rather than trying to compensate with more product.
Once you figure out why your press-ons are failing, keeping them secure becomes much easier.
For readers who are specifically looking for a better adhesive, continue with our guide to the best nail glue for press-on nails.